How to Make Spalted Wood (DIY Recipe for Spalting Lumber)
Spalted wood is the coloration and detailed dark lines that occur from fungal growth in wood (commonly referred to as “spalting”). The unique patterns and coloration of the spalting process can add value to wood which otherwise might have a low-value. Knowing tips and tricks on how to get wood to spalt can allow you to discover beauties and colors not normally found in wood.
DIY Wood Spalting Recipe.
Spalting is like growing plants. With the right ingredients, you should get good results.
- Step 1. Select lighter woods for spalting.
- Lighter woods like maple, sycamore, pine, and birch typically work great for spalting. This is because these woods have a whitish color that function as a blank canvas for spalting to occur.
- Step 2. Keep the humidity high.
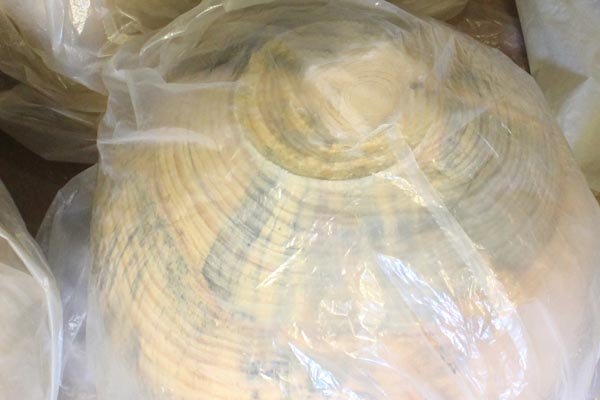
- To help keep the humidity high, I place the wood in a plastic bag or plastic storage bin. Since the fungus needs some oxygen to grow, I will either periodically open the container to allow fresh air to enter or create a few small holes. Keep your plastic bag or storage bin in a dark area if possible.
- Step 3. Add additional ingredients to promote spalting (e.g., Beer).
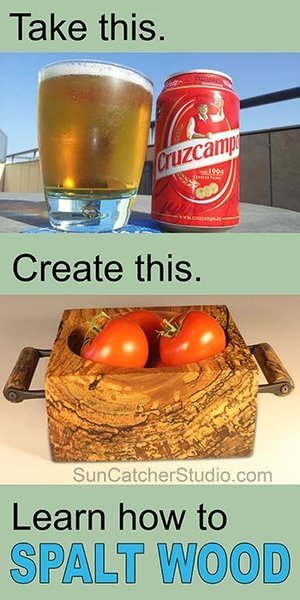
- Ingredients that contain nitrogen, organics, and sugar will help speed up the spalting process. This can include horse manure, fertilizer, and leaves. I have had especially good luck using two cans of beer. One can of beer you pour on the wood. The other can your drink!

Notes on Spalting Wood.
If the wood has not been kiln-dried, there are typically enough dormant spores to begin the spalting process. On the other hand, if the wood has been kiln-dried, I would recommend adding some shavings from a piece of wood that has begun to decay.
The spalting process usually takes several weeks. Begin checking after six weeks. If you like the coloration, remove the wood from your bag or container. If not, allow the wood to spalt for another two weeks and then check again.
Allow the wood to air-dry before using. Once a piece has been air-dried, the decaying or spalting process will stop leaving you with a beautiful piece of wood.
Helping Nature Spalt Wood: Logs Stored Outside.
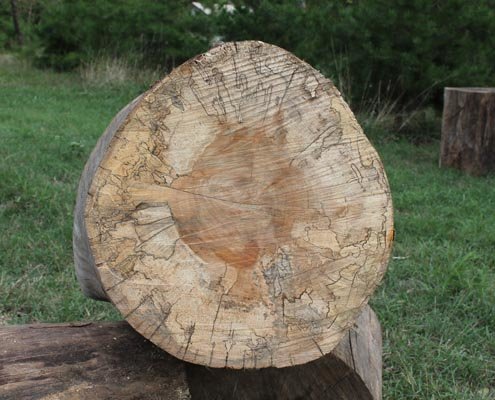
To help logs spalt naturally outside, I store the logs on their ends in a shady area as shown below. If I have time, I also cover the top of the logs with dirt and wood shavings to help keep the tops moist. Regardless, do not place anything on the bottom of the logs (e.g., plastic bag) that would prevent water from being absorbed.

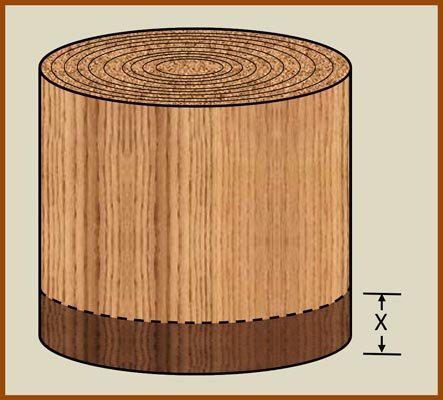
Storing logs on their ends:
1. Allows logs to wick-up moisture from the ground.
2. Allows easy removal of bug damage. As shown below, after storing for several months, there maybe bug damage in the bottom section (represented by X). When stored in this direction, one chainsaw cut can easily remove all the bug damage.
When to use spalted wood.
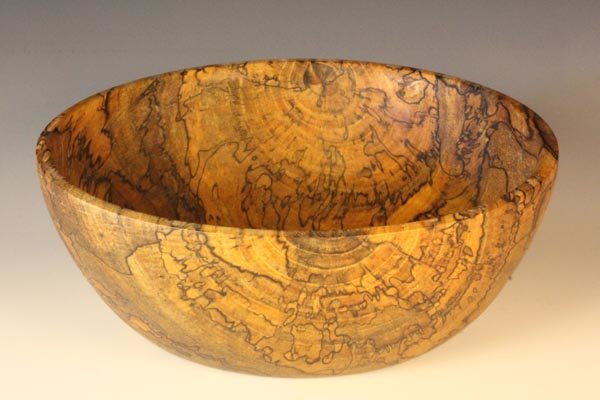
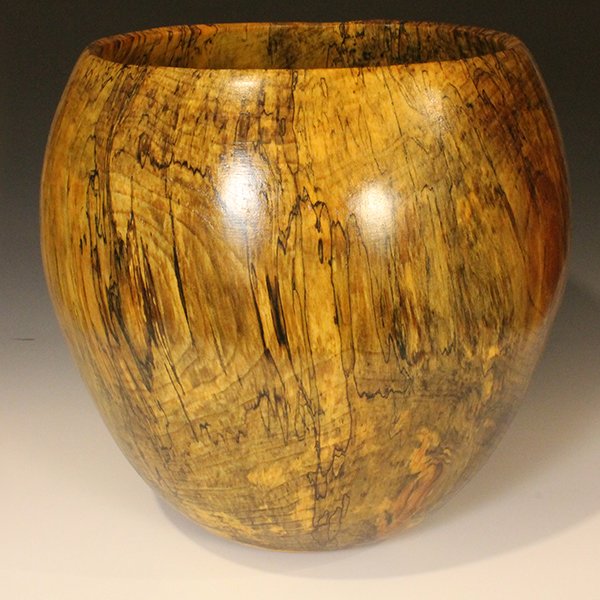
When creating pieces for functional or utilitarian use, I typically look for strong preferable hardwoods with little or no decaying present. For these pieces, I also prefer straight grain wood without forks, limbs, crotches, and knots. However, when creating pieces for artist expression or decorative use, I prefer to use partially decayed or spalted wood. The term spalted refers to the discoloration and detailed dark lines that occurs from fungal growth in the wood as it decays and rots. The discoloration frequently includes brown and black staining. The detailed dark lines (sometimes referred to as zone lines) can create very intricate patterns. Spalting is simply nature’s way of breaking down wood. Once you have created a few pieces using spalted wood, you will know why it is sought after by many woodworkers.
Drawbacks of the spalting wood.
One of the drawbacks of the spalting process is it weakens the wood and can make the wood more difficult to work. There may be areas of the wood that are hard right next to very soft areas. This can make sanding the piece very challenging. If the spalting is too advanced, the wood may be useless. Some people say working with spalted wood is a health hazard. Other people say we breathe spores from spalted wood all the time. My advice, always wear respiratory protection when working with wood – regardless of whether you are working with spalted or unspalted wood.
Keep in mind, spalting wood is like everything else, nothing is “tried and true.” Some wood will spalting beautifully, but others will not do much. Experiment and have fun.
Looking for more WoodWorking Tips and Tricks?

Looking for more WoodWorking Projects and Plans?

You will also find patterns of all 50 US States.