Workshop Plans and Design Tips (Dust collection, Electrical, HVAC)
Free workshop plans, layout, and design tips. The layout and design of a workshop or garage will typically evolve over time based on one’s own personal preferences and choices. Limited space and limited budget typically determine the most efficient solution. If you have a non-dedicated shop (such as a garage), then compactness and portability might be the key factors in determining shop design and layout.
Eventually a good shop will need to address such issues as dust collection, heating and cooling, and electrical needs. Below are my recommendations for designing the perfect wood shop.

“A one-car garage is a shop. A two-car garage is a studio” – mentioned at a Kansas City Woodturners club meeting.
1. Use closed storage cabinets in a woodworking shop.
Storage cabinets, tool chests, etc. can provide a perfect solution for organizing tools and accessories and making them easier to find. Cabinets with doors that can close (like the one shown below) can also simplify shop cleanup by helping keep dust off small items. While open shelving makes it easy to view tools and accessories, dust can quickly accumulate on all the individual items making cleanup more time-consuming. Furthermore, when you go to pick up a tool, you might find yourself first having to clean dust off the tool – putting even more dust in the air.
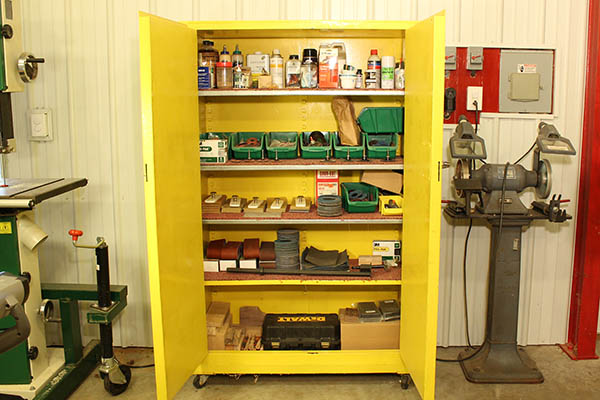
By storing your woodworking tools and accessories in closed cabinets, instead of open shelves, you can keep unwanted dust and wood chips off your tools and accessories. Furthermore, when the cabinets doors are closed, you can use a leaf blower to clean your shop without having to worry about lightweight items (e.g., sandpaper) being blown away. Closed storage cabinets along with a clutter-free shop (as shown below) can help reduce clean up time.
2. Divide Your Shop.
If space and budget allow, consider dividing your shop into a clean and a dirty working area. This could even be as simple as placing a curtain in the middle of your shop. By dividing your shop into two area, you will spend approximately half the time cleaning. The clean area provides a dust-free space for applying finishes and storing tools, accessories, and supplies. The dirty area is where you sand and do all of your cutting.
Over the years, I have personally only known two people who gave up woodworking as a hobby. In both cases, it was because of dust. These two people used their garages as their workshop. Their garages also contained household accessories, lawn and garden equipment, sporting goods, etc. on open shelves. After spending one hour cutting, turning, or sanding, they would find themselves spending two hours cleaning. With this in mind, I feel dust management and collection needs to be an important part of any good shop design and layout.
3. Take advantage of prevailing winds in your workshop design.
It was out pure luck that I constructed my shop to take full advantage of the prevailing winds in Oklahoma! In northeast Oklahoma, the winds blow predominantly from west to east. The shop includes big doors on the west and east sides along with windows and smaller doors as shown below.

On over half of the days, I can open the doors and windows and create a natural draft. I then use a leaf blower, to stir the dust up, and then the natural draft sucks the dust out of my shop like the world’s biggest vacuum cleaner as shown below. In under 5 minutes, I can go from a thick layer of dust covering every inch of my shop, to passing my mother’s white glove test. When other woodturners visit my shop, I will typically finish with a final cleaning by opening the doors and windows and getting a leaf blower out. When visitors watch the dust blowing out of my shop, they typically comment, “That’s not fair, it would take me hours to get my shop that clean.”
See Dust Management and Collection for more information on controlling dust.
4. Install a Scalable Electrical System
If re-wiring your shop, consider making your electrical system scalable. This might include adding one or more sub panels, 220-volt service, or additional circuits. When I first built my shop, I only had one tool that required 220 volts. Now, when I look around my shop today, I have five woodworking machines alone which use 220 volts. You will find higher-end models (like bandsaws, table saws, and lathes), you will frequently find they require 220 volts.
5. Consider oversized heating / cooling units in your workshop design.
Most HVAC contractors and experts will recommend installing “properly sized” heating and cooling units in your shop. These units will run through the recommended amount of cycles to keep your shop comfortable. A properly sized unit might only raise or lower the temperature by 1 to 2 degrees per hour. The argument is that properly sized units will operate more efficiently and the upfront costs will be less.
However, if you are a hobby woodworker/woodturner, like me, you might only use your shop one or two hours at a time. If you have installed the recommended size units for your shop, you have two options, 1) leave the units on all day, or 2) work in unfavorable temperatures. For these reasons, when deciding on my HVAC units, I went against the expert advice and installed heating and cooling units rated for an area three times the actual square feet of my shop. With 8” of insulation on all walls and the ceiling, I can heat my shop from 50°F (10°C) to 60°F (16°C) in about 15 minutes.
At today’s price, this cost $0.25. In effect, I can heat my shop approximately 4 times, for the cost of one sheet of sandpaper. Had I gone with a “properly sized” heating unit, I would most likely be spending significantly more than this. A programmable thermostat would help; however, many times I do not know my hours in advance. I should probably mention that utility companies benefit from lower peak loads (i.e., “properly sized” units)!
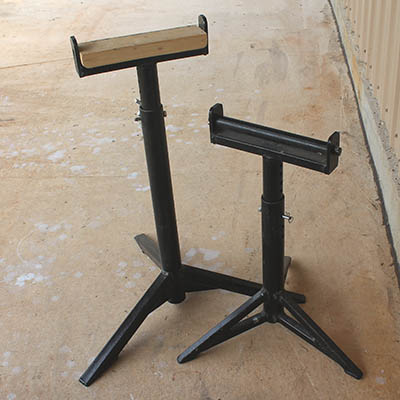
6. Purchase or build support stands.
When working alone or when working with wide or long pieces, a stable support can help create more accurate and struggle free cuts while also creating a safer work environment. For example, alongside table saws, miter saws, band saws, drill presses, jointers, planners, router tables, etc. an adjustable roller stand can help support the material. These support stands help keep the material traveling smoothly forward in a level direction. A good support stand will allow you to adjust it easily to the required height.
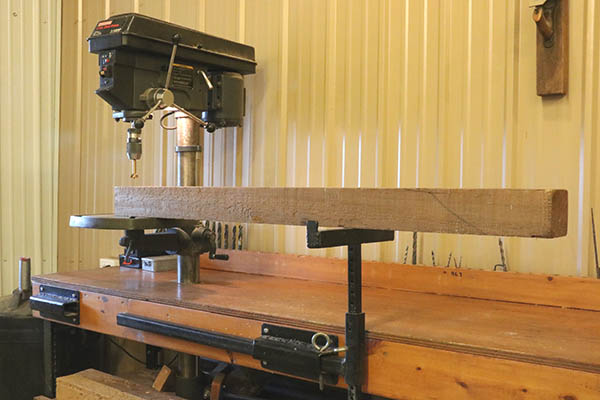
Drilling holes in long material use to be difficult. The 10”-15” (25cm-38cm) table on most drill presses is simply not big enough to support long material. Furthermore, if not fastened to the floor, the drill press may tend to tip over when working with long material. To create a safer more stable work area, I integrated a drill press with support arms into a workbench. I first cut holes into my workbench to insert the column of the drill press. Next, I created an adjustable support arm from square tubing that I can install on either side of the drill press.
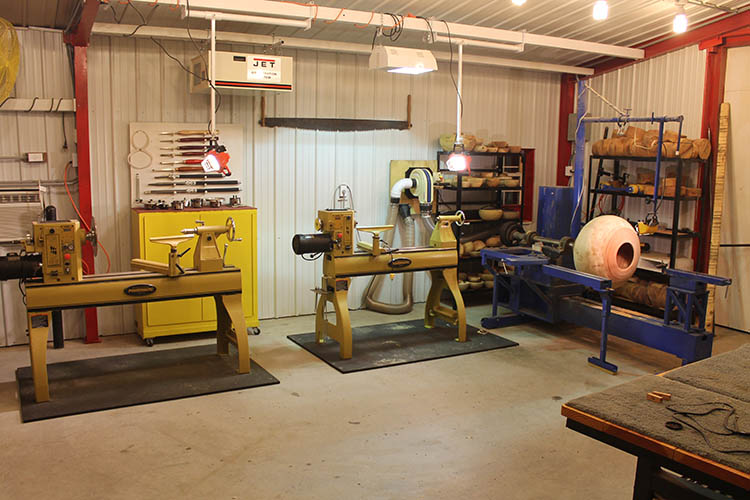
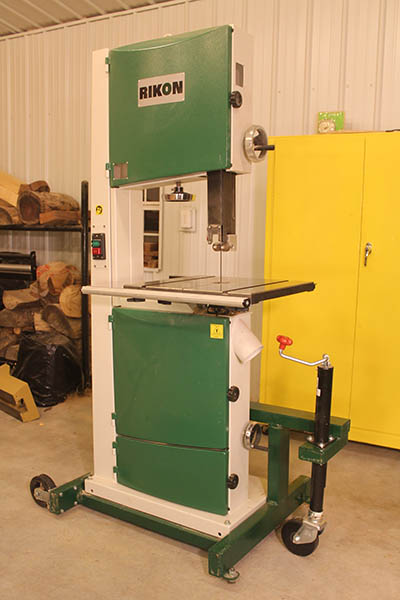
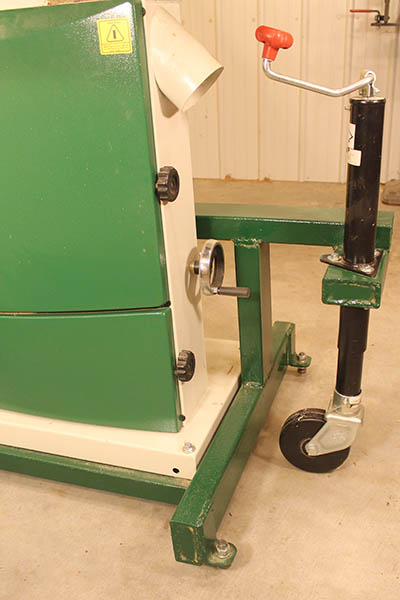
7. Add mobility to your tools.
Adding mobility to your tools provides flexibility in your shop allowing you to clear space for something else or for cleanup. Wheels, castors, and mobile bases can make it must easier to move tools, workbenches, and cabinets around. For example, you can place a mobile band saw (bandsaw) alongside a wall. Then when cutting long pieces, you can move it easily away from the wall to allow the material to travel forward and be cut. Mobile tools can be especially useful in a small shop. If you are tired of moving tools around to remove dust – wheels can make an amazing solution for you!
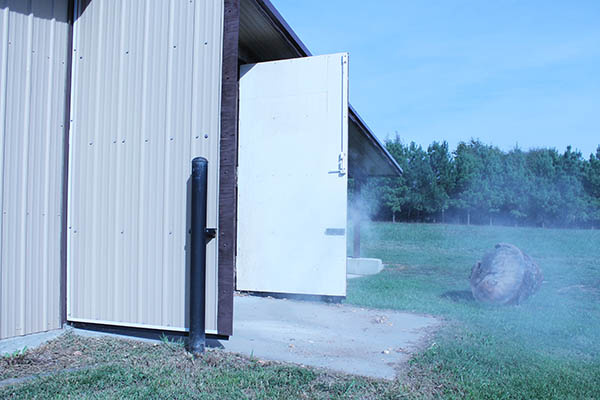
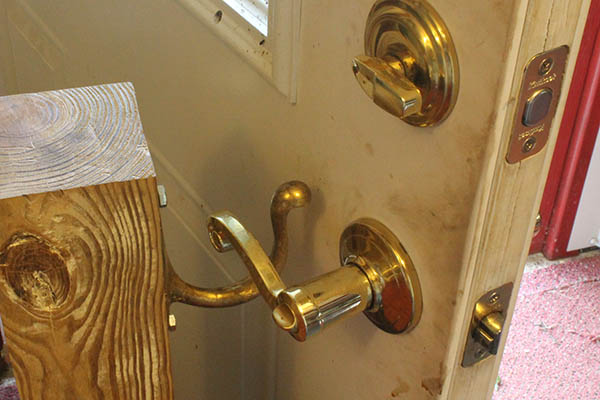
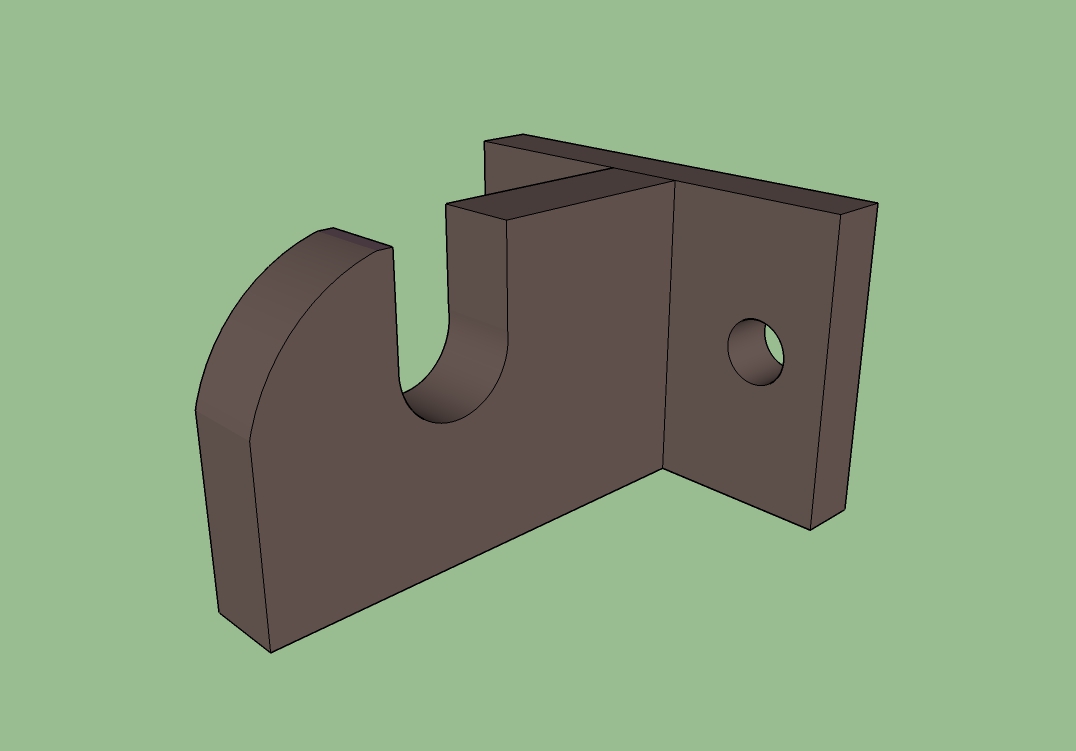
8. Design doors that can be easily propped open.
A doorstop, door wedge, or doorstopper, or some other method of holding or propping a door open can come in handy to ventilate a shop. This is especially useful when 1) trying to stay cool on warm days, and 2) cleaning a shop or studio. The ability to prop open doors on warm days can help create a natural breeze. This natural ventilation can help move the air helping you stay cooler. Even a slight breeze on warm days can make a big difference.
You can also prop open doors to help clean the shop. One of the simplest ways to remove fine dust in a shop is to open the windows and doors, and then use either a leaf blower or a strong fan for blowing the dust out of the shop. Hopefully, you can take advantage of the prevailing winds mentioned earlier. Always make sure to wear a filtered mask when working with dust. The video above and the images shown below illustrate how I prop open the doors. No more looking for old brooms to hold doors open!
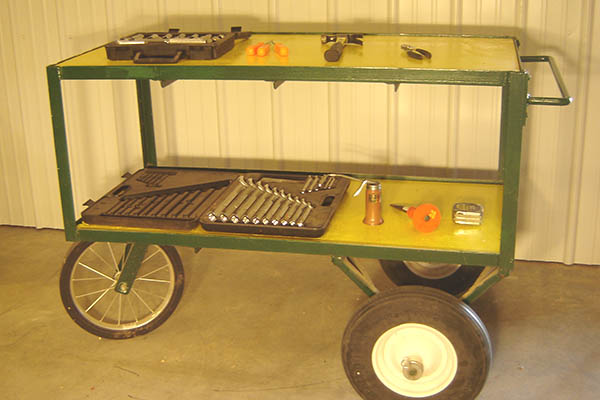
9. Purchase or build a moveable service cart.
These carts provides a handy place to store tools and parts when repairing equipment.
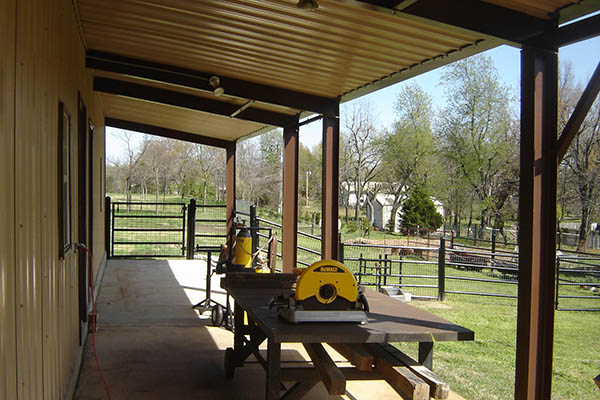
10. Consider adding a covered area outside the shop.
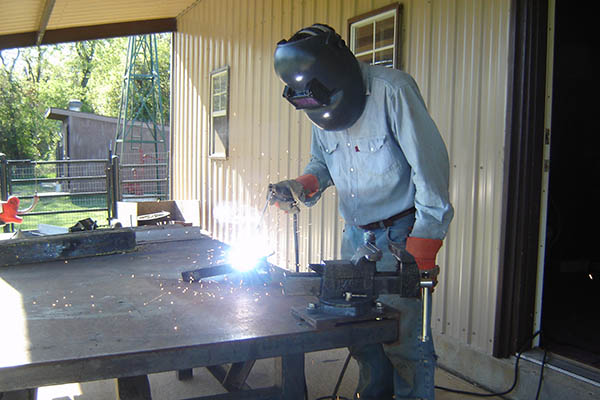
An outside covered area (also known as a lean-to or shelter) is especially helpful when painting, staining, or doing any type of metalwork. The covered area keeps your tools out of the weather, yet it provides maximum ventilation for hazardous fumes.
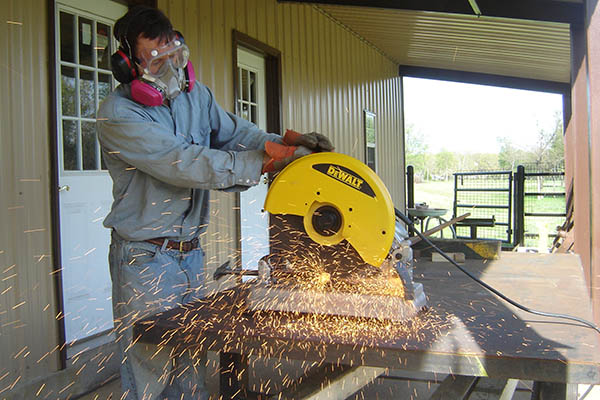
When welding, if possible work outside for maximum ventilation. I would also highly recommend purchasing a bubble type welding helmets (e.g., Jackson Respirator Welding Helmet HR2). These welding helmets allow you to wear a full sized respirator underneath the helmet. Furthermore, you should wear safety goggles and hearing protectors when cutting and working with metal.

Looking for more WoodWorking Tips and Tricks?

Looking for more WoodWorking Projects and Plans?

You will also find patterns of all 50 US States.