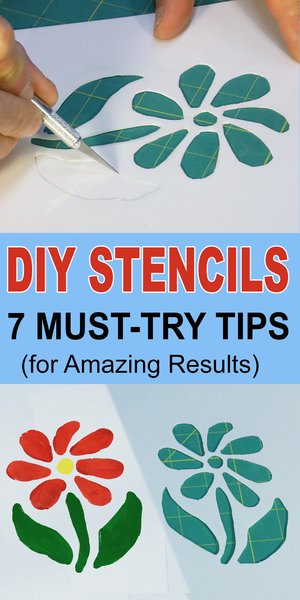
How to Make and Paint Stencils (7 Amazing Tips)
Want to learn how to make and paint with stencils? Looking for a fun way to engage with your creative side, as an adult and especially, as a kid. Want to learn about 7 tips to ensure a flawless painting when using stencils? If so, keep reading. See fancy lettering fonts and stencil maker for more ideas.
You will find this article is divided into two sections:
A. How to Make Your Own Stencils.
B. Essential Tips on How to Paint with Stencils.
A. How to Make Your Own Stencils
Besides being cost-effective, the best part about DIY stencils is that they can be personalized. Customized stencils can be used to give presents, make cards, etc. Not sure where to begin? Don’t worry, in this section we’ll give you a step-by-step procedure on how to make your own DIY stencils. The first thing you will want to do is gather your supplies.
DIY Stencil Supplies
- Blank stencil sheets – including vinyl, mylar, plastic sheet. (Paper and cardboard are great if you only want to make one or two prints.)

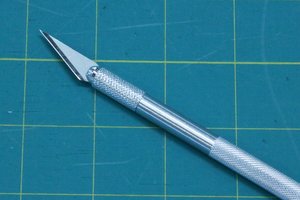
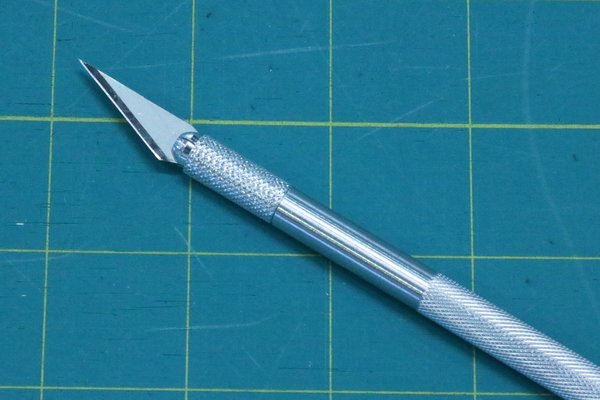
- Precision craft knife (e.g., Exacto Knife) or vinyl cutter.
- Cutting mat.
- Patterns.
Step 1: Find or Create a Design
Before starting, we would suggest that you find a design that you love. Whether you’re making a homemade card, intricate patterns for your wall, or designing your own furniture, it is very important to move forward with something you like. If you know how to draw, go ahead and customize your own pattern. For beginners, we suggest fewer curves and edges and more straight lines until you get the hang of it. Some stencil patterns and designs can be found at:
Step 2: Transfer your Design
A. The easiest approach is to simply print out a design you like and tape your design to your stencil blank. If using a transparent stencil blank, you can tape your design either on top of or below the blank. If using a non-transparent stencil blank, then you will have to tape your design on top of the blank.
B. Trace or draw your design directly on the stencil blank with either a sharpie or a fine tip marker. Consider using a ruler for marking straight lines.
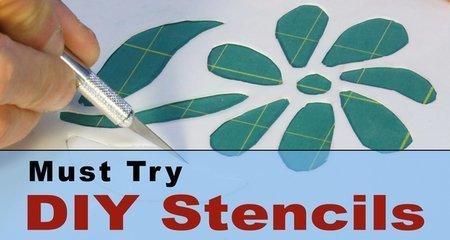
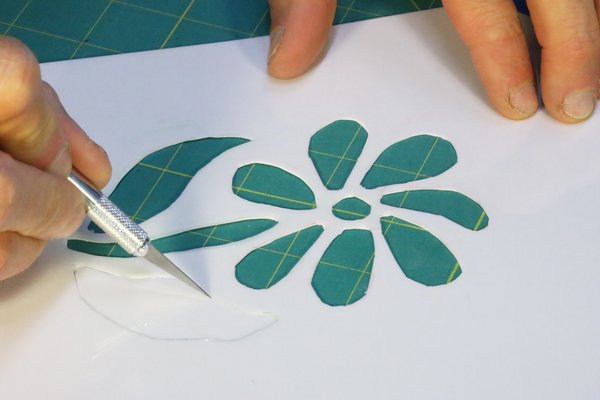
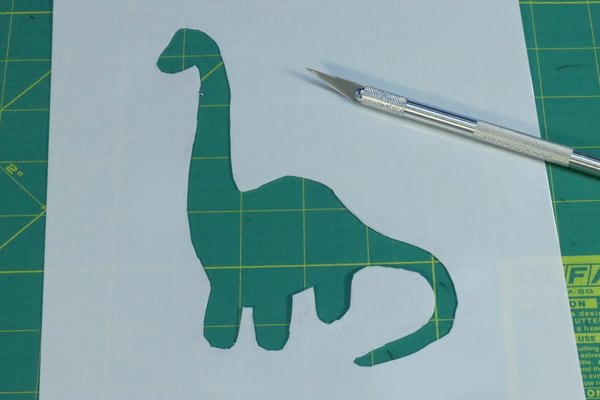
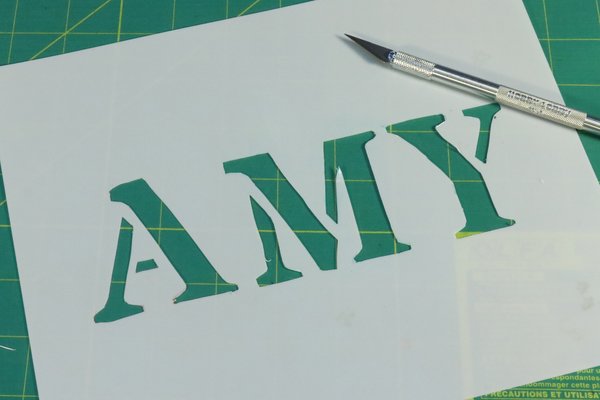
Step 3: Cut out your Stencil Design.
Use a precision knife or a vinyl cutter to cut out your design. Make sure the knife is sharp to prevent accidentally ripping the stencil material. An X-Acto knife would be the perfect example since it runs smoothly on the plastic sheet and causes minimal damage. Consider using a ruler for cutting straight lines.
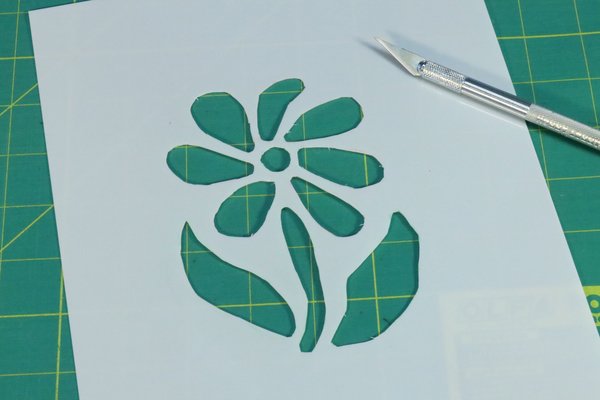
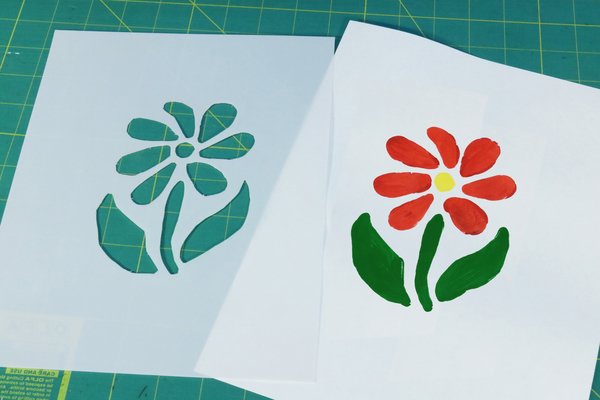
Step 4: Enjoy Your New Stencil
Congratulations – your new stencil is ready for use! Use your new stencil to paint a wall, decorate furniture, or make DIY cards for other people. What’s better than designing your own cards and personalizing them for your friends and loved ones? See the next section Essential Tips on Painting with Stencils for sure-fire ways ways to paint with stencils.
B. Essential Tips on How to Paint with Stencils.
Below are some sure-fire tips to help you achieve the best results when stenciling.
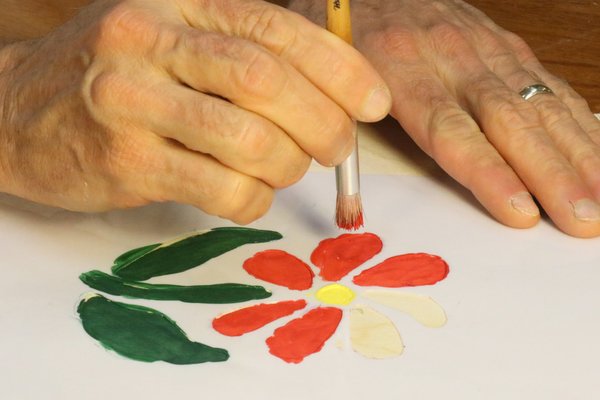
- Use thicker paint. Thick paint is less likely to flow under the stencil creating bleed through (i.e., paint creeping under the design or letters in your stencil).
- Adhere your stencil to the surface before painting so it does not move while you’re in the process of painting. For best results apply a spray adhesive on the bottom of your stencil and then press it in place. The spray adhesive will securely hold the stencil in place while also preventing bleed through. When finished painting, the stencil held in place with spray adhesive can easily be removed.
- Use a stencil brush or a sponge rather than a paint brush. Unlike a paint brush, a stencil brush is firmly packed with short bristles. Lightly dab the paint onto the stencil. Go up and down with your brush or sponge. If rubbing back and forth like painting, it will likely go under the stencil making a mess.
- Apply multiple light coats of paint. If using excessive paint, the paint might flow under the stencil. Let each layer of paint dry before you paint another one on top of it. Easy strokes are the way to go.
- Clean your stencil after you’re done so that you can use it again whenever you want to!
- Keep your stencil on a completely flat surface when painting.
- Test your stencil and paint on a practice piece before attempting on the real material.

Conclusion on Stenciling
Stenciling is not just for adults, but for kids too. Stenciling can develop and enhance children’s hand-eye coordination. Creating and using stencils not only challenges an individual but also gives them great satisfaction after the job is completed. Besides being a great productive pass time, stenciling can instill artistic qualities in an individual at a very young age. Now that you know how to make stencils and things to avoid or do, just remember to have fun while stenciling!
Fancy Text, Fonts, Stencils, and Printable Lettering
Use these printable letters, stencils, fonts, clipart designs, and patterns as templates to imprint letters and numbers on other surfaces. Create personalized, custom projects for your home, for craft shows, for selling projects online, etc. These uppercase (and some lowercase) alphabet letters and numbers are great for coloring pages, coloring sheets, crochet patterns, drawing and painting projects, cricut and silhouette cutting machines, hobbies, holiday crafts, iron-on designs, kid crafts, laser cutting, needlecrafts, preschool printables, quilting, sewing, scrapbooking, sign making, string art (nail art), teachers, wall art, weddings, woodworking projects, and other DIY arts and crafts.Looking for More Cool Lettering, Stencils, Fonts, Patterns?

Try photos to sketch and photos to painting and create a family name sign.
Pin for later: