How to Make Candle Holders (WoodTurning Project)
Candle holders (along with the candles) are a great way to create ambiance or to use during a power outage. They can create a warm, relaxing environment while also helping to accent other furnishings anywhere you display them. With a minimum investment in time and materials, candle holders make wonderful small, inexpensive gifts.
Materials Used to Make This Candle Holder
- Wood: 5” x 5” x 3” (13cm x 13cm x 8cm)
- Mega tea candle: 2.25” x 1” (6cm x 2.5cm)
- Turquoise Powder
- Cyanoacrylate (CA) glue, also known as Super Glue or Krazy Glue
Candle holder design and LED candles.
Candle holders come in numerous designs, allowing your turning creativity to show. The design illustrated in this section was chosen because it is very stable, allows for inlaying (e.g., turquoise), and helps illustrate the power of a scroll chuck. In addition to traditional beeswax candles, you can also use battery powered flameless (LED) candles. These smoke free candles provide a realistic flickering effect. They are also safe for families with pets and young children, since there are no flames to worry about.
Steps to making a Candle Holder
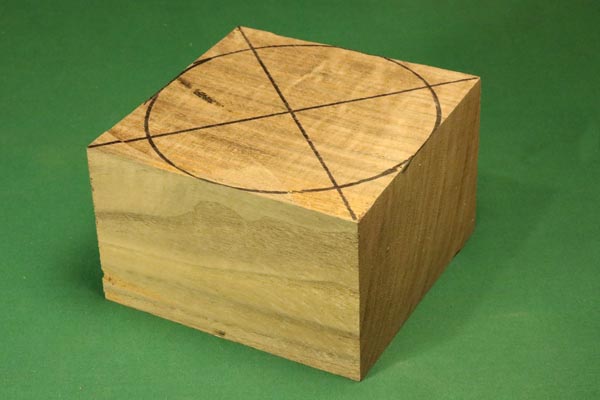
While there are numerous approaches to turning a candle holder, I typically take the following steps. I first mark the center and the perimeter of the candle holder on the blank (Step 1).
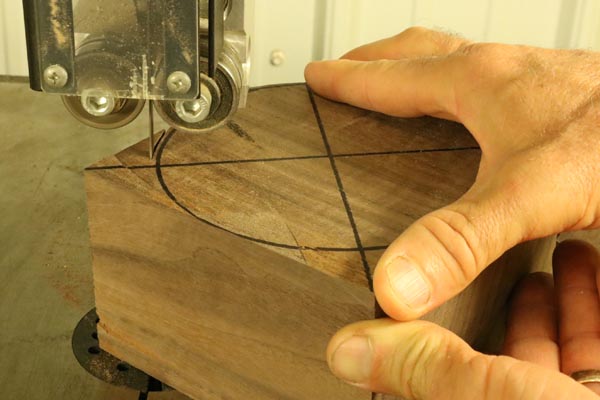
Next I use a band saw to remove the corners (Step 2). This makes the initial turning easier and safer.
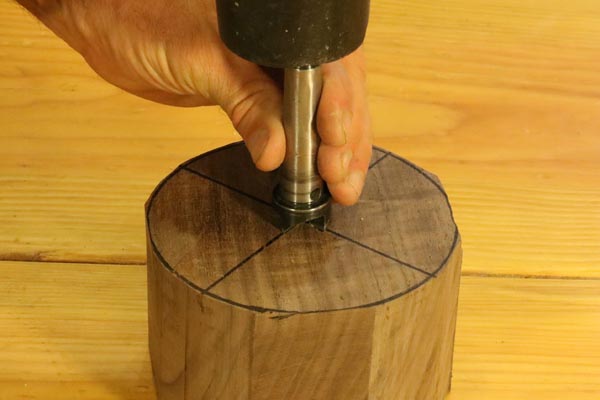
I then install a drive center into the middle of the blank (Step 3)
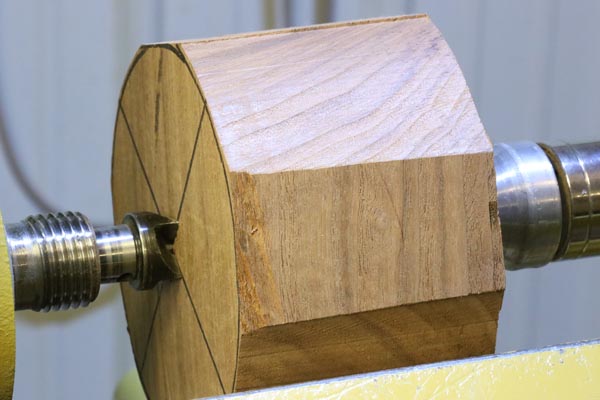
I then mount the blank on the lathe using the drive center and a live center (Step 4).
Next I round the blank using a bowl gouge (Step 5).
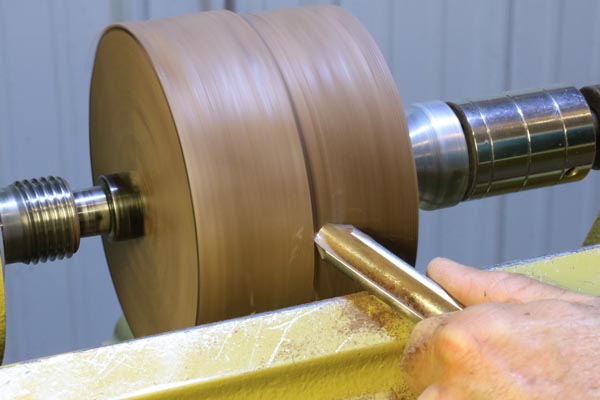
I then create a tenon on one end using either a parting tool or a square carbide cutter (Step 6).
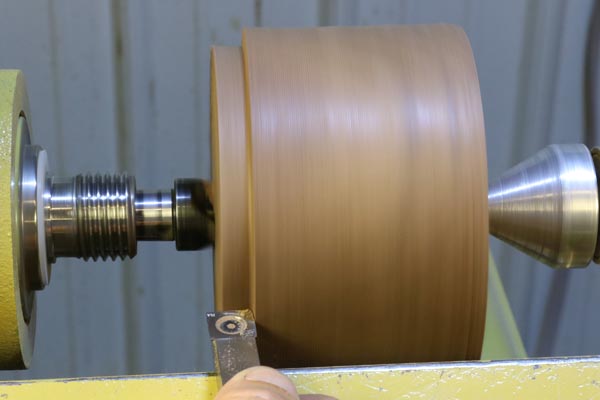
After this, I re-mount the blank by gripping this tenon with a scroll chuck (Step 7).
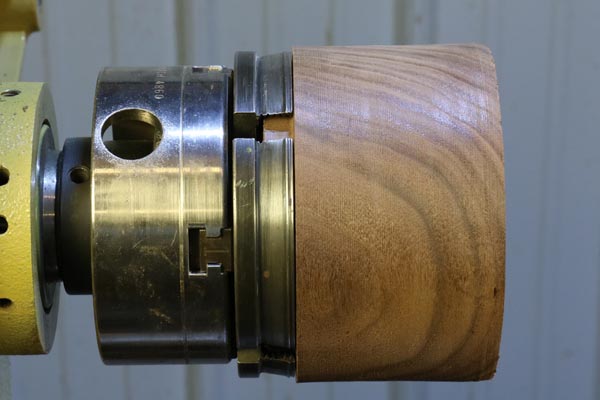
Next I use a bowl gouge to shape the top, exterior portion of the candle holder using a bowl gouge (Step 8).
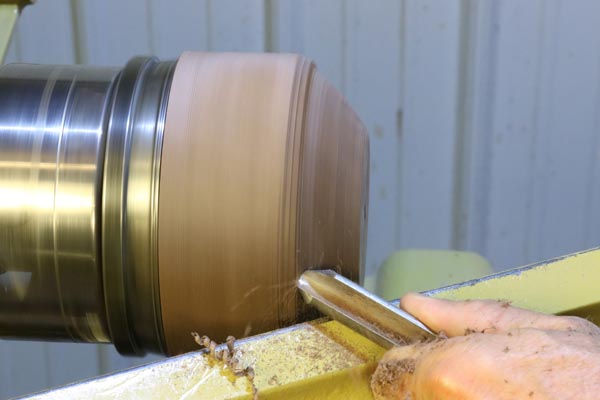
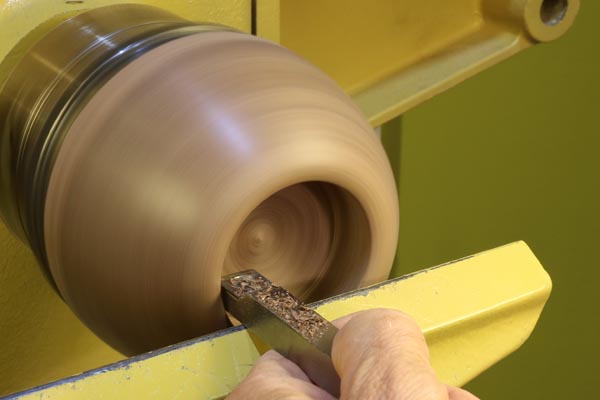
Subsequently, I use a square carbide cutter to create a recess for the candle (Step 9). Typically, I turn this recess just slightly less than the diameter of the candle. This way after sanding, the candle will still fit snuggly in the recess.
Adding Optional Turquoise Inlay to Candle Holder
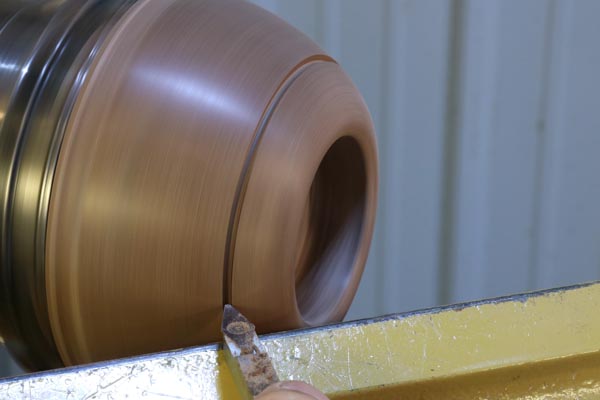
(Steps 10-12 illustrate adding an optional turquoise inlay.) If adding an inlay material, I cut a small grove near the top of the candle holder for the inlay (Step 10).
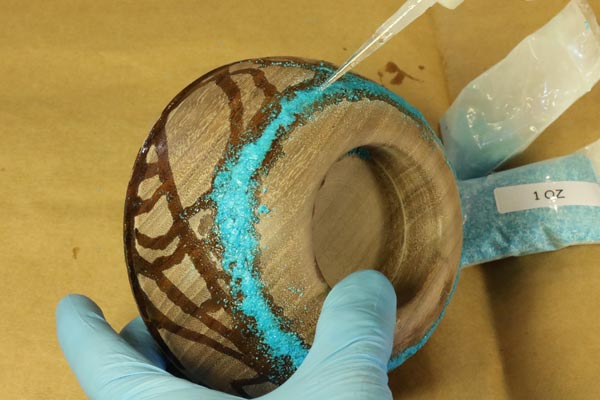
I then insert a little turquoise powder into the grove (Step 11).
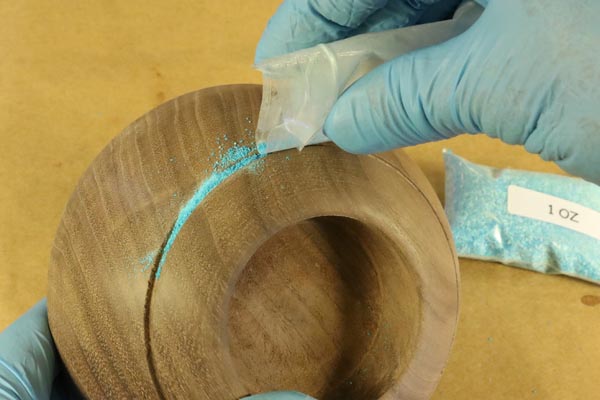
After inserting the turquoise powder, I apply a thin CA glue. The thin CA glue flows through the material being absorbed and wicks to the bottom of the recess. This securely holds the inlay in place. Yes, I try to be neat! However, inevitably the piece will be covered with glue and inlay material before I am finished (Step 12).
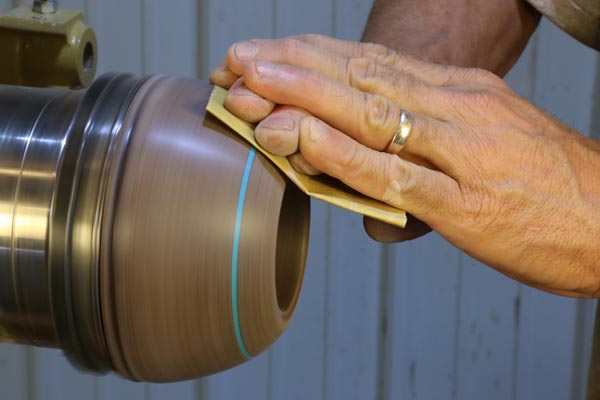
After this, I finish sanding the top inside and outside of the piece (Step 13).
I now re-mount the piece using smaller jaws (Step 14). In this case, the jaws will expand to hold the piece.
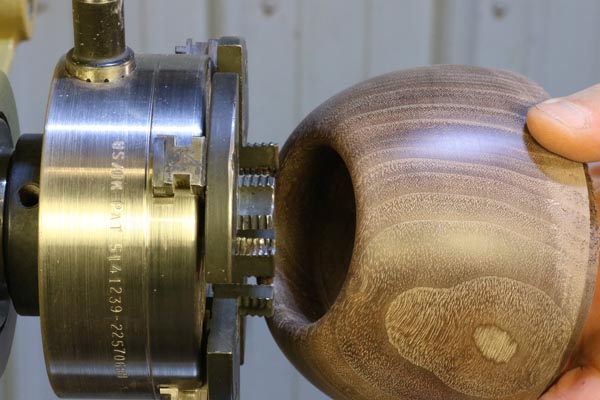
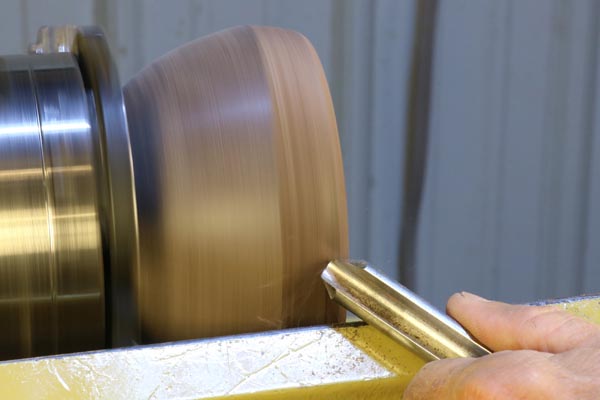
I then use a bowl gouge to finish shaping the bottom of the candle holder (Step 15).
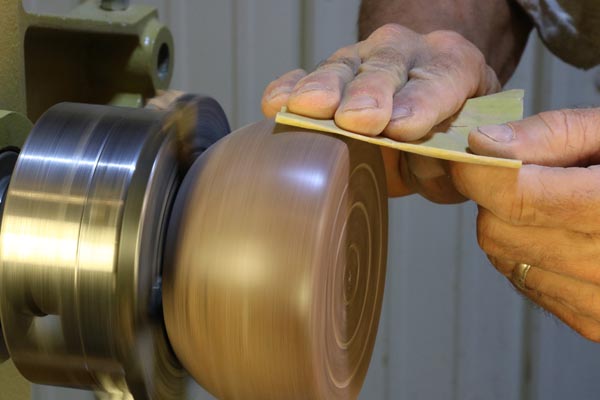
Next I finish sanding the bottom of the candle holder (Step 16)
Next I apply a linseed oil finish (Step 17).
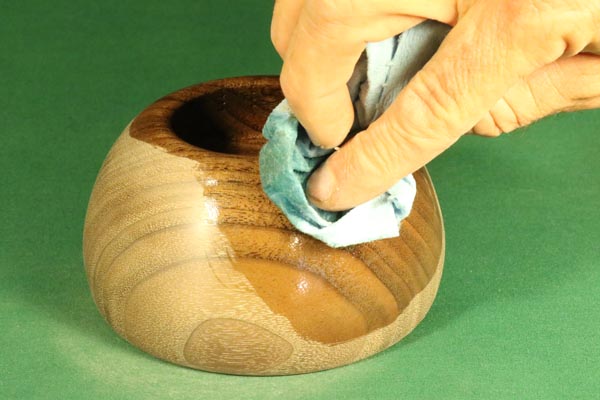
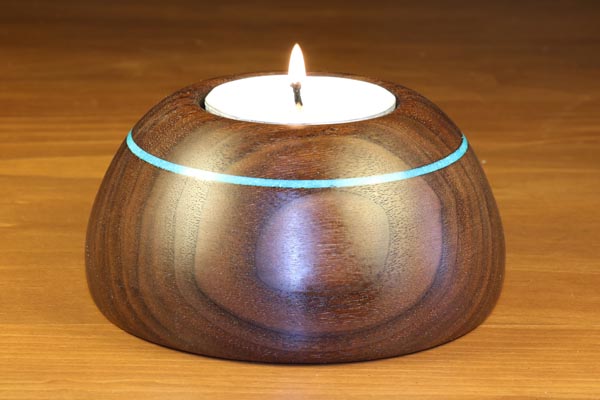
The final candle holder ready for use (Step 18).
