How to Make Wooden Scoops (Woodturning Project)
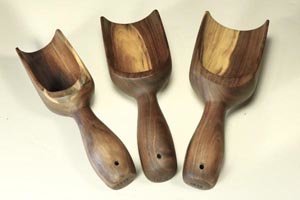
Turning wooden scoops can be an interesting and fun project for people who enjoy woodturning. Scoops can help speed up transferring items like rice, flour, sugar, birdseed, etc. Scoops make excellent presents and when priced appropriately, they can be quick sellers at art and craft shows.
Materials Needed to Turn a Wooden Scoop
- Wood: 4″x4″x11″ (10cm x 10cm x 28cm) [Walnut]
- Smaller blanks can be used to create smaller scoops.
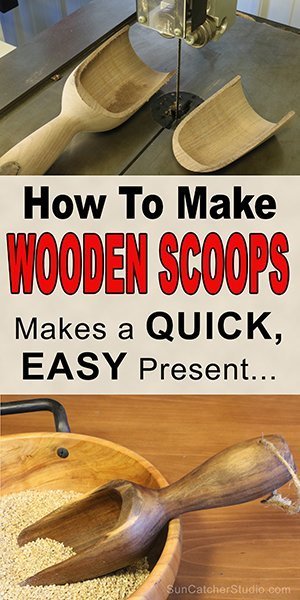
Written Instructions Follow Step by Step Images.
Steps to Making Wooden Scoops on a Lathe.
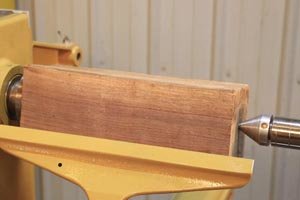
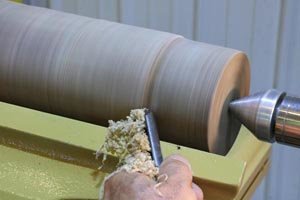
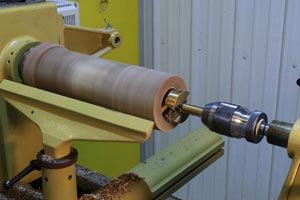
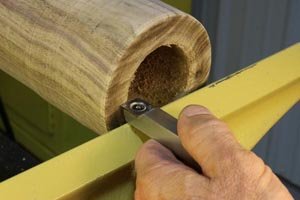
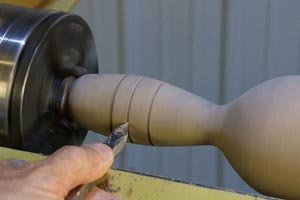
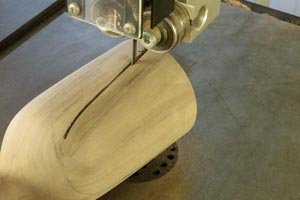
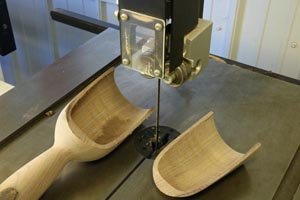
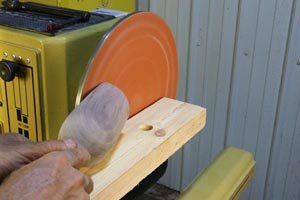
Written instructions for making a wooden scoop (Woodturning Project)
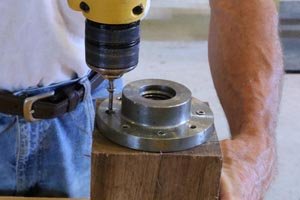
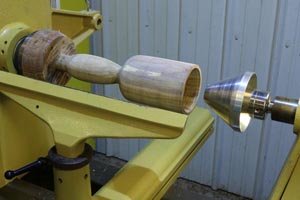
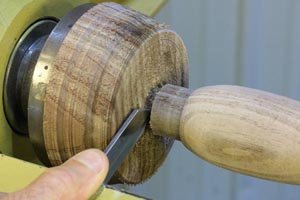
While there are numerous ways to turn a scoop, I typically take the following steps. I first attach a faceplate to a blank using screws (Step 1). I have found a faceplate will more securely hold a blank in comparison to a scroll chuck. Next, I mount the blank on the lathe using the tailstock for additional support (Step 2). I then use a bowl gouge to round the blank into a cylinder (Step 3). Next I begin boring out a hole approximately 4” (10cm) deep using a Forstner drill bit (Step 4). Since my biggest Forstner bit is only 2¼” (6cm), I typically use a square carbide cutter to increase the opening (Step 5). A round carbide cutter is used near the bottom.
Finishing the exterior of the Wooden Scoop
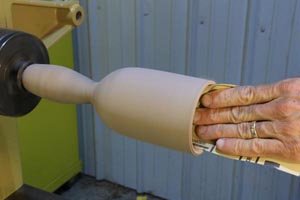
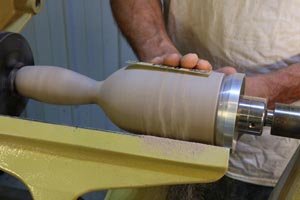
Next, I finish turning the exterior using a bowl gouge. During this process, a cone-shaped live-center in the tailstock helps provide additional support (Step 6). If using green wood, I create a tenon on the end of the scoop and then use a parting-tool to separate the scoop from the waste block (Step 7). After slowing drying for several weeks or months, I remount the scoop on the lathe using a scroll chuck and sand the interior (Step 8). Next I sand the exterior, again using a live cone-shaped center for additional support (Step 9).
After sanding the handle, I may add decorative grooves (Step 10). Next, I remove the top portion of the scoop using either a bandsaw (Steps 11 and 12) or a disc sander (Step 13). If using a band saw, it is recommended to use a clamp or jig to hold the round stock so it cannot roll while cutting. A disc sander can also be used for creating rounded corners and removing the excess tenon on the handle (Step 13). The finished scoop ready for use (Step 14).
