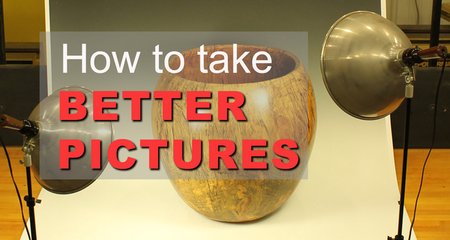
How to take Better Pictures: Get Your work noticed and accepted.
How to take better pictures. Are you a woodworker, jewelry or soap maker, knitter, painter, or a potter trying to sell your pieces online? Are you trying to write an article for an upcoming issue in a magazine? If so, taking high quality photographs might be all you need to get your work noticed and accepted.
Photography: Lightning and Background (Backdrops)
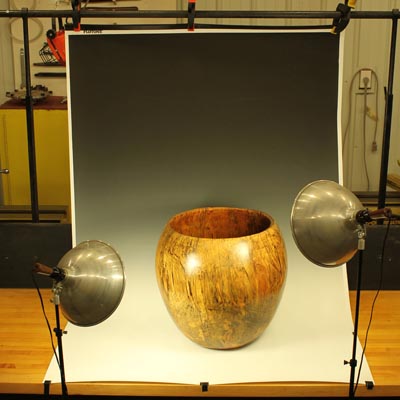
Game Changers: From “So-So” to “So Good”. One of the first steps towards taking better images is to create an area where you can photograph your pieces. In my case, I simply modified my workbench to hold a backdrop. For around $50, you can purchase the graduated vinyl photography backdrop shown below. Eventually, you might also want to look into supplemental lighting. Finally, you might want to consider buying a tripod to keep your camera steady.
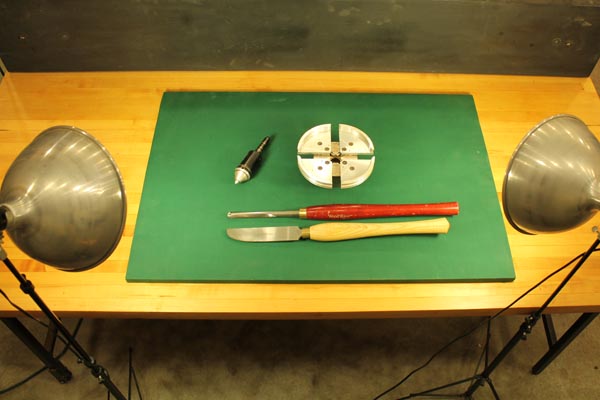
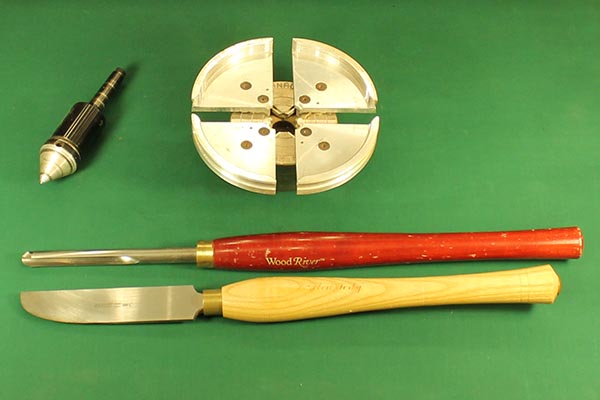
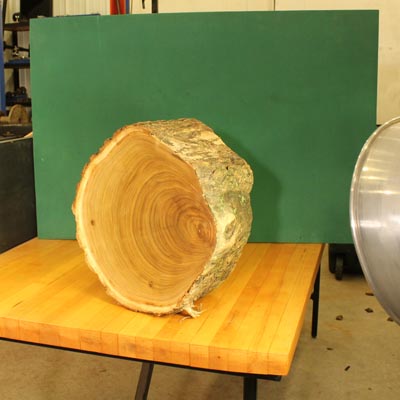
If writing articles on woodworking tools, you will also likely want to purchase or create backgrounds with different solid colors. You will find certain tools and accessories are more visible when photographed on a solid colored background. Personally, I have a green matt and a white matt (shown below) which I frequently use to take pictures. If you look at the pictures on this website, you will notice the white and green backgrounds are frequently used.
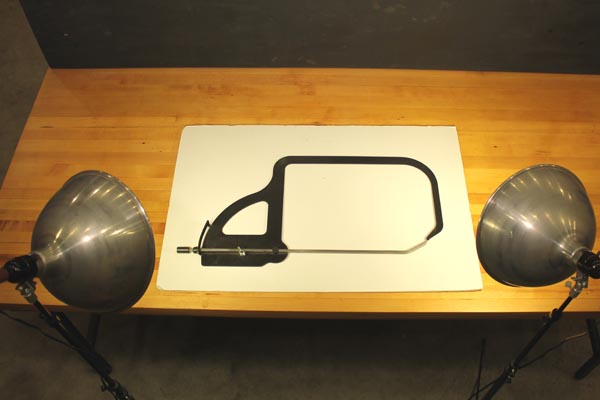
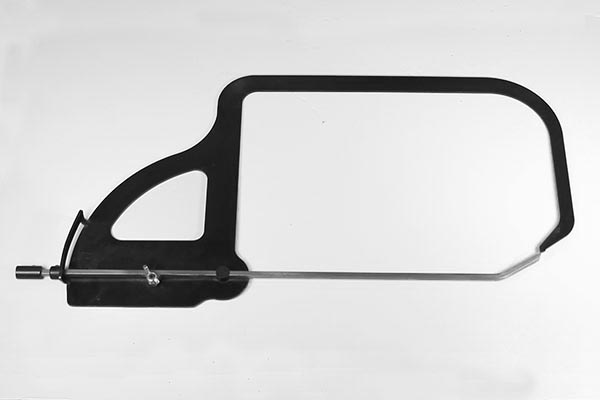
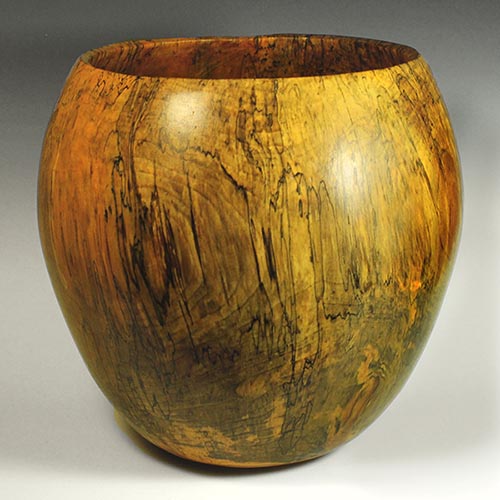
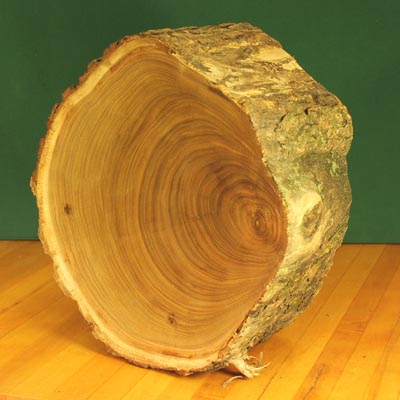
In some cases, you can use a solid colored mat. This combined with a wooden table can help remove extraneous background objects as shown below. Together, the mat and table help focus attention on the subject.
Photography: Editing (Adobe Photoshop and GIMP)
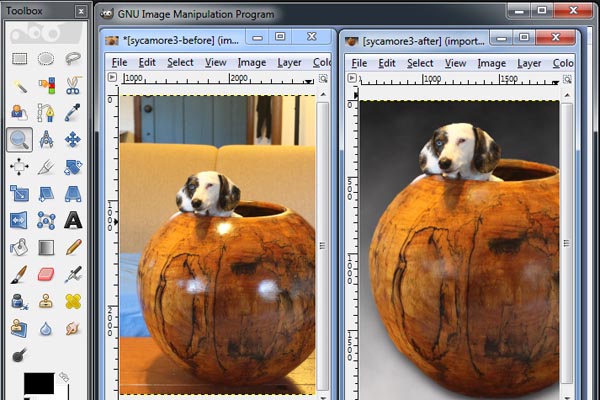
After taking a well lite, in focus picture, you will still frequently want to modify your digital images. Today there are many software applications, which will allow you to manipulate images. Two such applications are Adobe Photoshop and the free software GNU Image Manipulation Program “GIMP”. Below are screen captures of these two software applications.
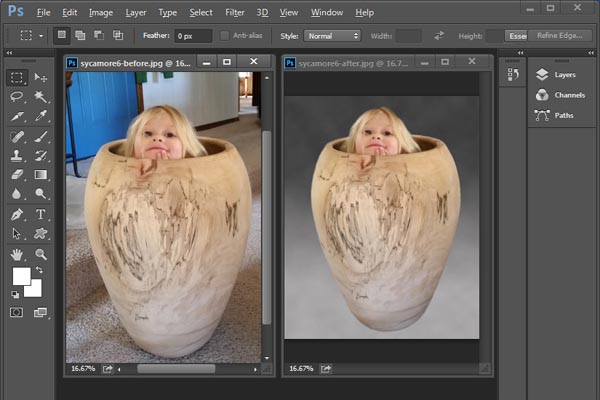
In some cases, your original image might contain unwanted areas or irrelevant details. In other cases dark areas and shadows. Sometimes you might want to remove a distracting background such as the “original” image below. In this case, you might want to crop the original image, change the brightness and contrast, or remove any distracting background. If using Adobe Photoshop to crop an image, you first select the desired area, and then select “Image” and “Crop”. To lighten up the image, you would select “Image”, “Adjustments”, “Brightness / Contrast” and then adjust as necessary.
How to Clean Up the Background in Photoshop
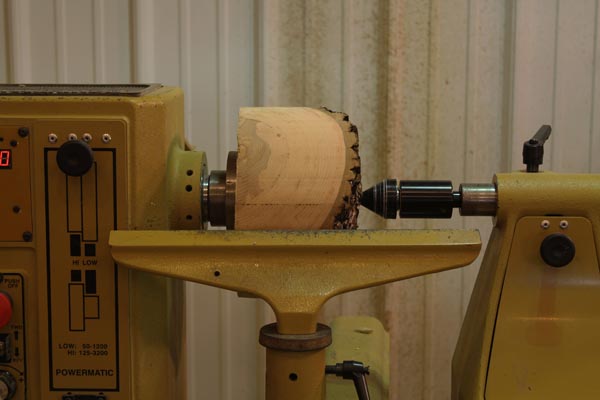
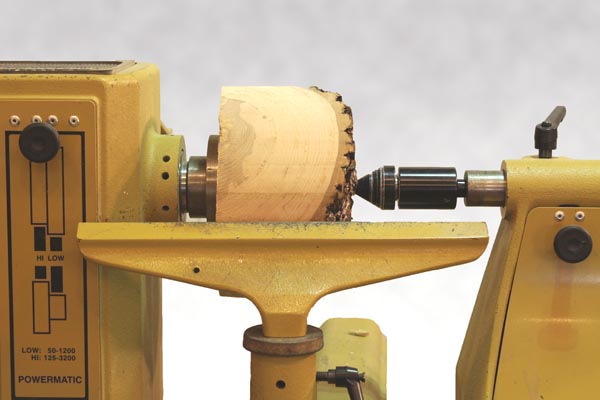
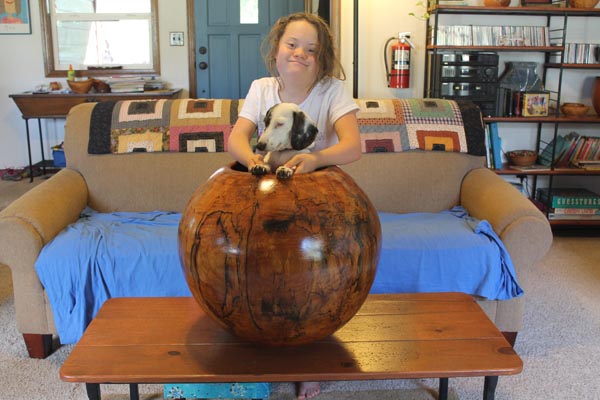
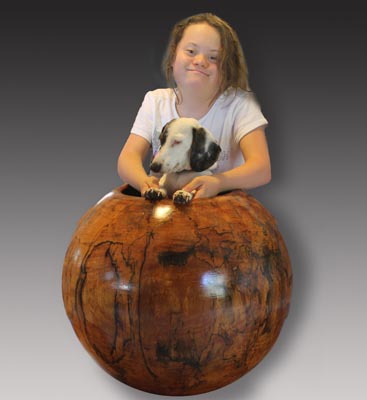
To remove the background (including the marks from water flying off the turning piece), you could use a variety of options. For example, you could use the “Quick Selection Tool” or the “Lasso Tool”. After removing the irrelevant background, you might add a “Gradient Fill” (gray to white) on this area from the top of the image to the bottom. The figures below show the before and after images.
Similar to removing the extra information behind the lathe in the figure above, you may have a piece with a distracting background as shown below. Again, you can use the “Quick Selection Tool” or the “Lasso Tool.” These tools combined with a “Gradient Fill” can be used to remove the background information. Below is the modified image.
Orientation: Converting from Portrait to Landscape or Vice Versa
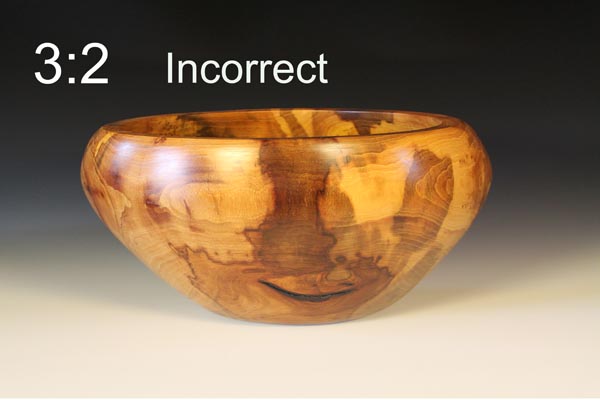
Another common editing task, is converting an image from portrait orientation (2:3 ratio) to a landscape orientation (3:2 ratio) or vice versa. For example, maybe you want all the images in your portfolio to have the same ratio. Likewise, maybe you decide to format your article using two or three columns. At which point, for layout and design, you need to reformat your images to a different ratio.
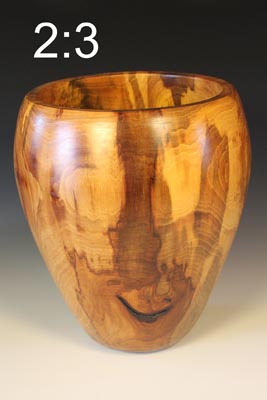
If the subject occupies only a portion of the image, then you can sometimes crop the picture to achieve the desired ratio. What you cannot do is simply resize the original image (shown above) to convert from one ratio to another. This would result in a different aspect ratio as shown in the “Incorrect” image below. Instead, you would first want to crop the original image as much as possible removing any extra information at the top and bottom. Next, you would change the canvas size to a 3:2 ratio. Finally, you would then need to copy and paste portions of the background to fill in the extra space on the sides. You can see the resulting “Correct” image below.

Online Presence for Artwork
The last step in taking your homemade artwork to the next level might be creating an online presence. On your website, visitors could view and possibly purchase your pieces. Today website creation platforms allow you to create websites, blogs, and online stores using drag and drop builders. Three such application are Weebly, Wix, and SquareSpace. In all three cases, you can create a FREEE “Basic” or “Starter” website. Eventually, you might want to upgrade to a paid plan. The paid plans allow you integrate forums and shopping carts. They also provide other features such as HD video, unlimited storage, and domain name registration.
Cameras: Nikon, Cannon EOS Rebel, Motorola, Sony, Olympus, Polaroid.
Pin for later!
Looking for more WoodWorking Projects and Plans?

You will also find patterns of all 50 US States.
