How to Make String Art (Great DIY Project for Kids)
Learn how to create STRING ART the EASY way with step-by-step instructions. This beginner, DIY tutorial will have you creating stunning string art designs using only a few materials and tools. String art makes a great family or kid project.

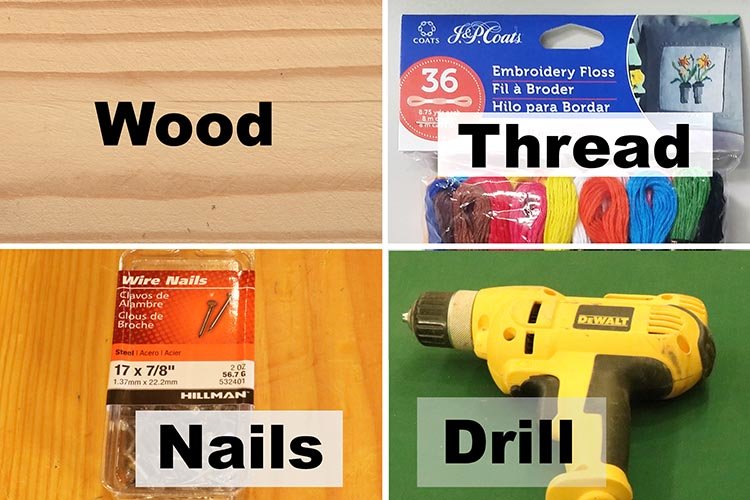
Materials Needed to Make a String Art Project:
- Wood 3/4″ (2cm) or thicker, hammer, nails, and a drill.
- Thread: embroidery floss, crochet thread, string, or yarn.
- Adhesive spray (optional).
- Creativity!
String Art Patterns
- State Outlines.
- Beginner and Intermediate Patterns.
- Word Art Patterns.
- Religious and Christian patterns.
- Alphabet and number stencils.
How to Make a String Art Project (Overview)
- Apply a pattern to a piece of wood.
- Drill pilot holes in wood – approximately 3/8″ (1cm) apart and 3/8″ (1cm) deep.
- Remove pattern.
- Apply an optional finish or paint to the wood.
- Insert and hammer in nails. Use nails approximately 7/8″ (2cm) long.
- Connect the nails with thread (e.g, embroidery floss, crochet thread, or yarn).
Detailed Instructions on How to Create a String Art Design
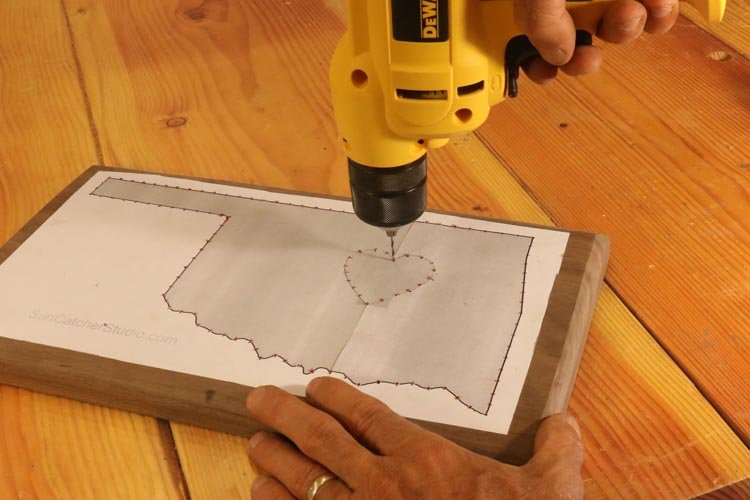
The first step is to transfer a pattern to the wood. The easiest approach I have found is to simply print a pattern on paper. I then use a spray adhesive to adhere the pattern to the wood. Next, I mark the locations for the holes. I aim for the holes to be approximately 3/8″ (1cm) apart.

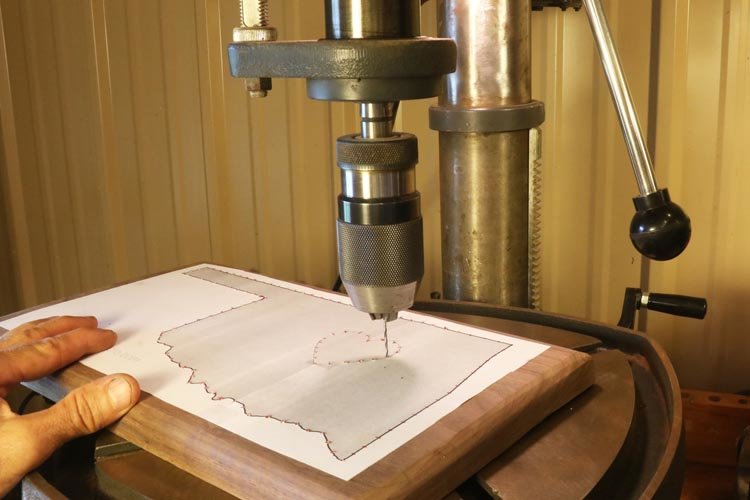
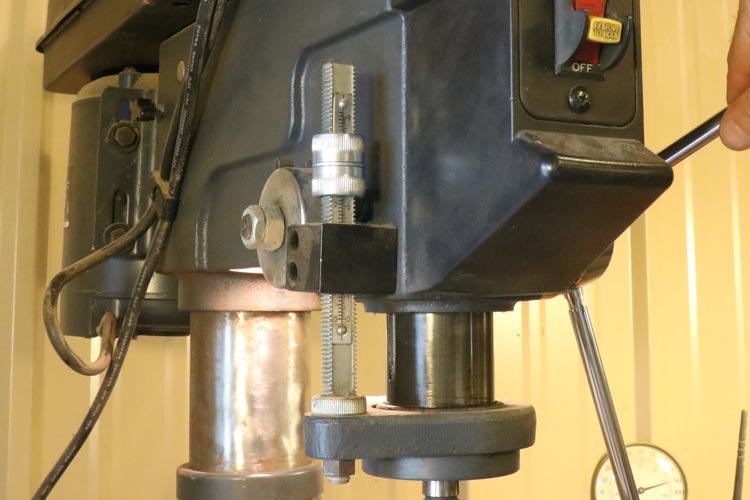
Next, I drill pilot holes in the wood approximately 3/8″ (1cm) deep. Use a drill bit slightly smaller than the diameter of the nail. If using a hand drill, try to keep the drill perpendicular to the wood, so your nails are not slanted. If you have access to a drill press, creating accurate holes is much easier. A drill press will help ensure your holes are all perfectly perpendicular. Furthermore, if your drill press has a quill depth stop, then it is very easy to make all the holes the same depth.
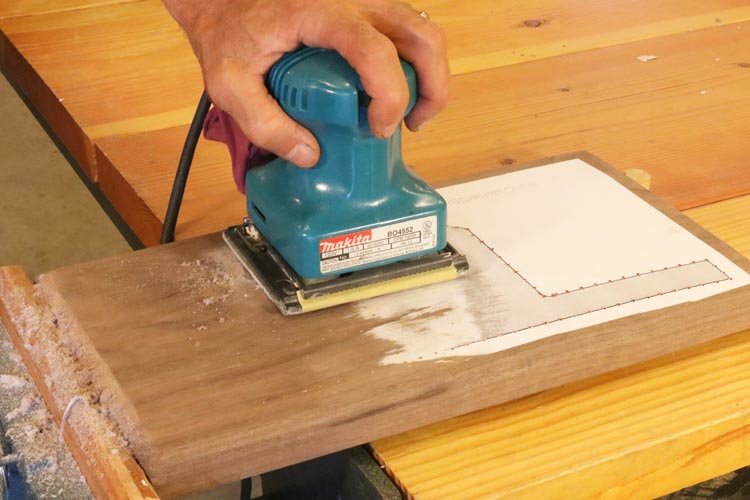
Next remove the pattern by sanding. If you have access to a palm sander or belt sander, the pattern can be removed in seconds.
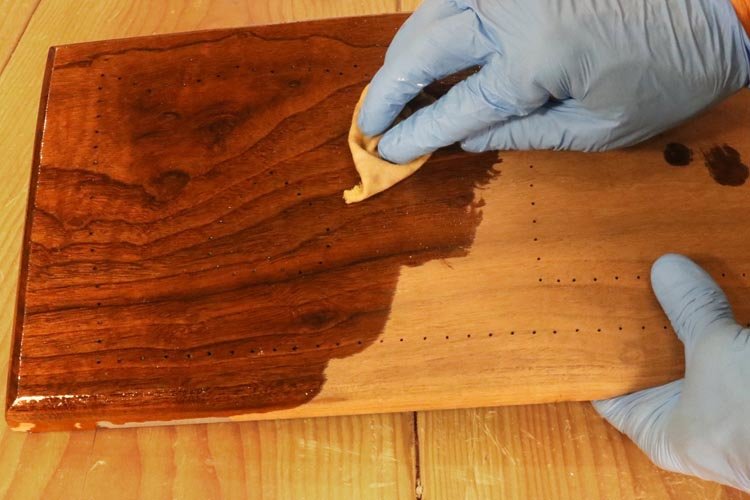
In this case, I am apply linseed oil to the walnut wood. If using wood with less character, you might want to even consider painting your wood to add addition colors to this project.

Note: some people (optionally) paint the heads of all the nails to add more color to the design.
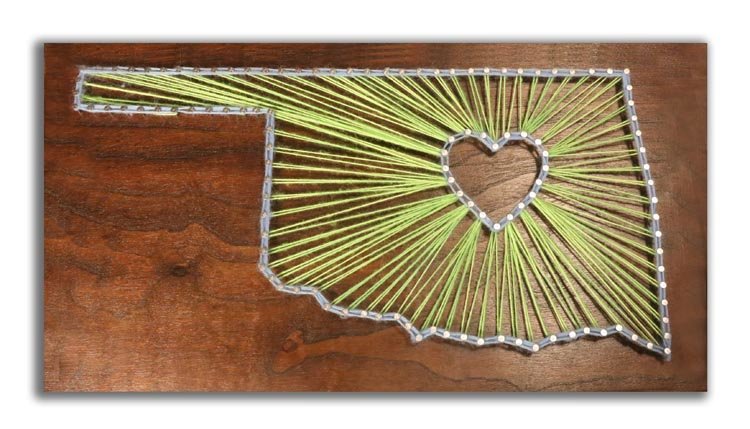
Connect the nails with thread to reveal your string art design.
First tie a string to one nail. Next weave and wrap the string around the other nails. Keep a tight tension on the string as you wrap it around the remaining nails. This is the super fun part! Repeat until you have connected all the nails. Finally, tie the string off around a nail when you are finished.
Personally, I like to use embroidery floss or crochet thread. These threads tend not to fray or become unraveled at the edge. Giving the string art very crisp lines. However, some people prefer the frayed threat look of yarn. Click the two images below to compare the differences.

Pin for later!

Looking for more WoodWorking Projects and Plans?

You will also find patterns of all 50 US States.
