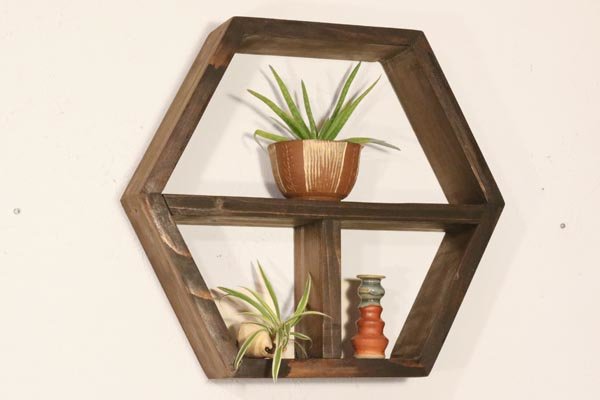
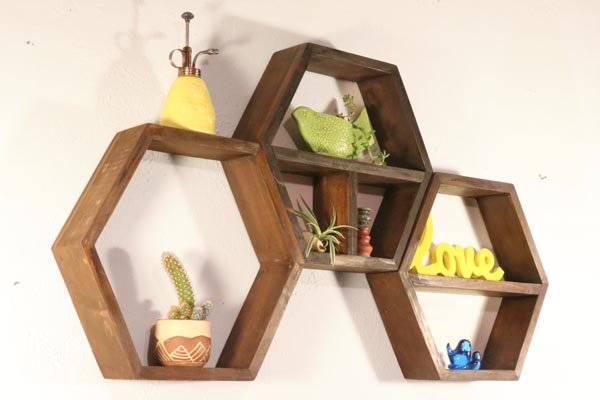
DIY Woodworking project: Wood (Honeycomb) Hexagon Shelves
Floating wall (honeycomb) hexagon shelves are easy to build and make a great DIY woodworking project. Whether in a cluster or just one, these wall shelves or display units can add both decoration and organization to your home. If you are looking for an easy, fun woodworking project, this is it.

Materials Needed to Build a Hexagon Wall Shelf:
- 1 x 4 – 6 feet long.
- Miter saw or table saw.
- Wood glue and screws.
How to Create Hexagon Shelves with Perfect Joints.
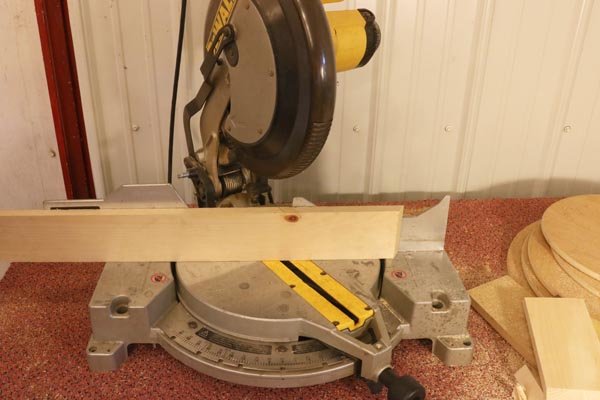
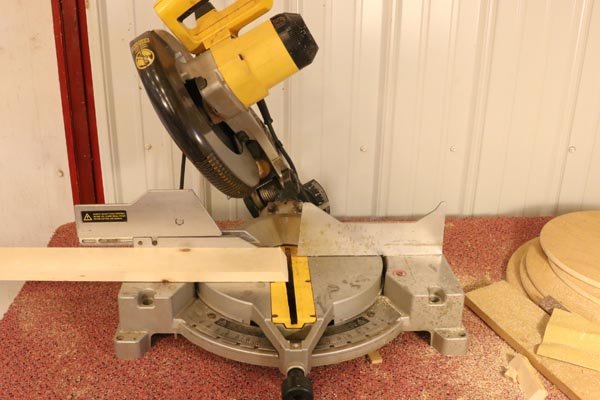
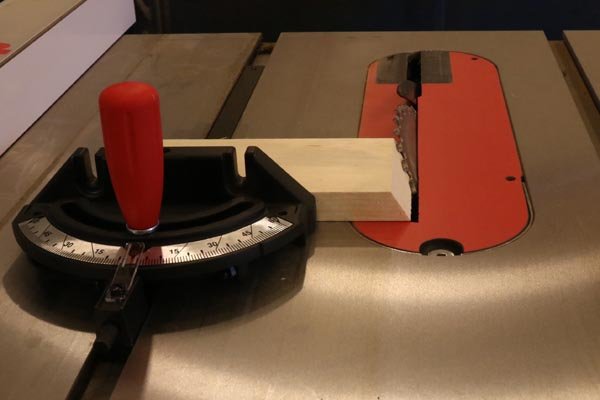
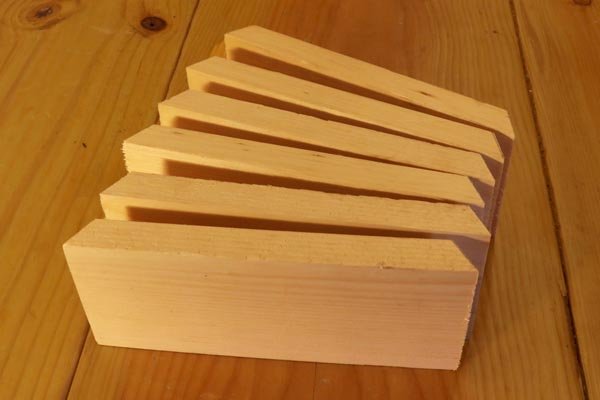
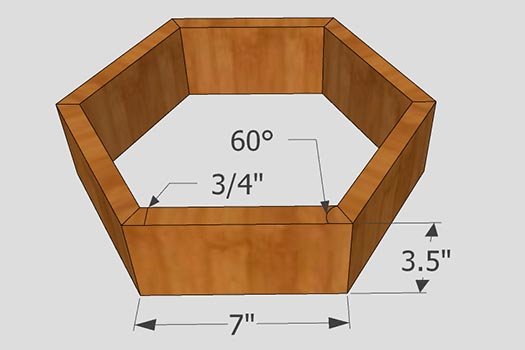
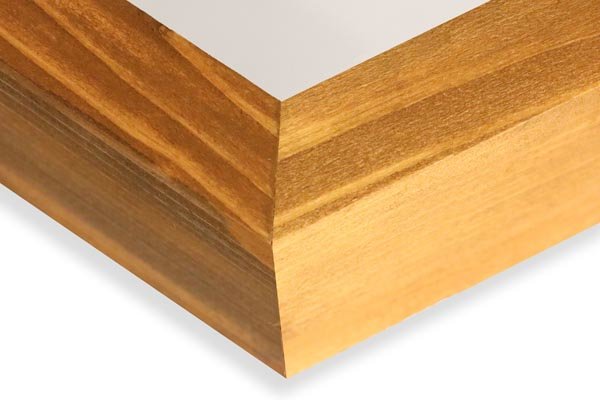
1. Cut six-7” pieces of wood with 30-degree angle cuts.
Make sure you angle the cuts inward on both sides. Three methods of doing this include:
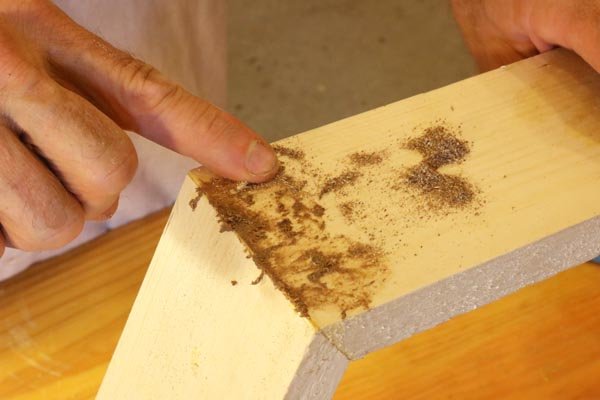
2. Pre-drill the holes.
Drill pilot holes to help prevent the wood from splitting. Ideally, this hole should be at least as large as the screw’s minor diameter.

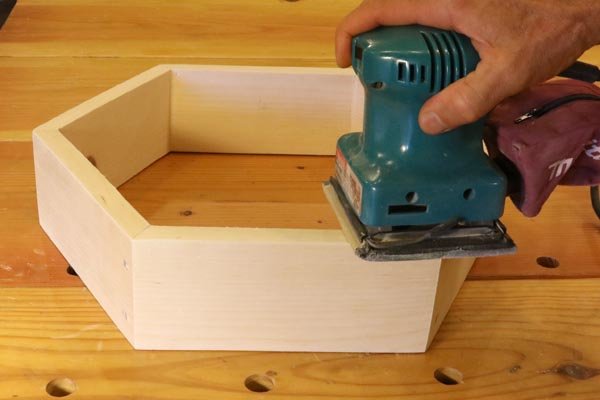
3. Create two halves sections.
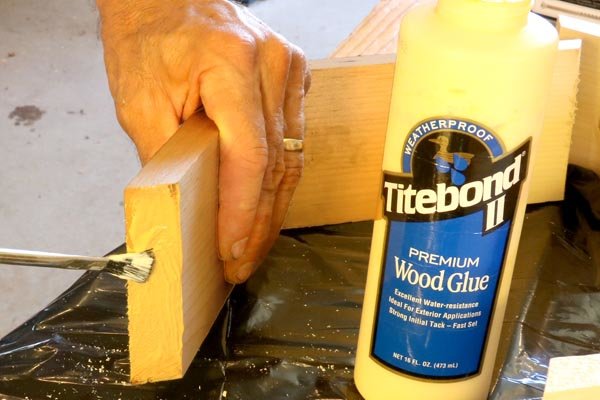
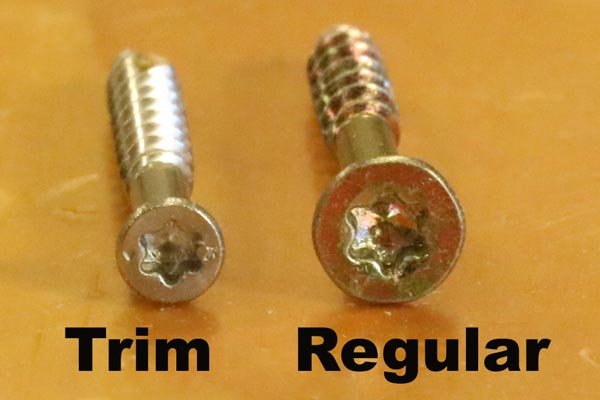
(DO NOT TRY TO GLUE AND ASSEMBLY ALL PIECES OF WOOD AT ONCE.) Use a combination of glue and screws to attach the wood together. Personally, I recommend using trim screws as shown below. The smaller screw head is less obvious and helps prevent the wood from splitting. If you pre-drill the holes, these screws will countersink themselves nicely because the head is not much larger than the pilot hole. If cut at the same angle, these pieces should fit together perfectly.

4. Combine the two halves together.
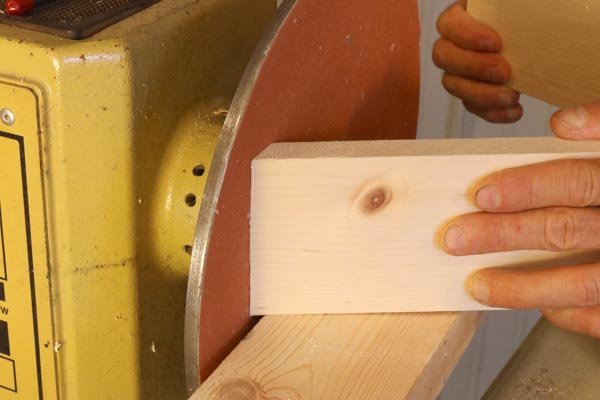
The trick to achieving perfect joints is to assembly the wall shelf in two halves as shown above. Once you have assembled the two halves, test if they fit together perfectly. If not, then lightly sand these joints until you have a perfect fit. Unless, you have a VERY, VERY, accurate angle gauge, your joints will not initially fit perfectly together. Using this approach, you will only have to worry about two joints fitting perfectly. On the other hand, if you wished to assemble all 6 pieces at once, then all 6 joints would have to match perfectly to ensure a tight fit.

5. Add optional center shelves inside.

5. Sand and finish your wall shelf.

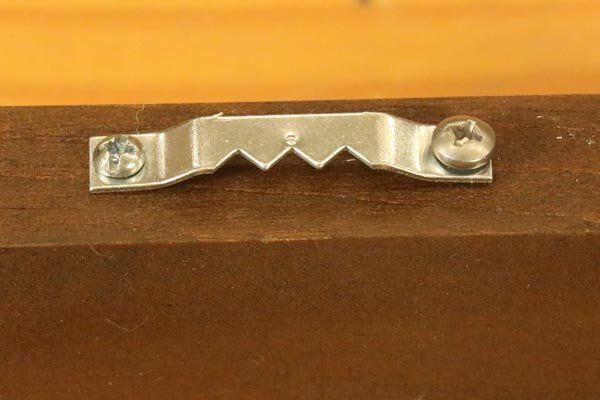
6. Install mounting bracket (e.g., Sawtooth Hanger)
7. Enjoy your finished hexagon wall shelf.
Pin for later!

Looking for more WoodWorking Projects and Plans?

You will also find patterns of all 50 US States.
