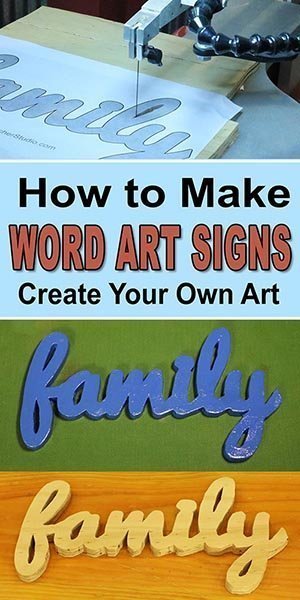
How to Create Wooden Word Signs (DIY Woodworking Project)
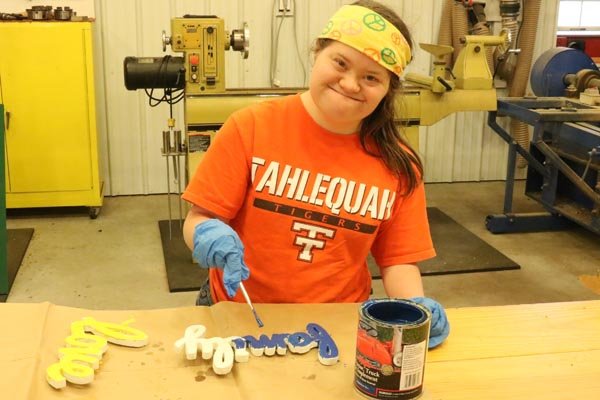
Creating a wooden word sign or cutout is an easy, fun, family, DIY project. With a little wood and a few tools, you can make your own word art signs in as little as one hour. They also make great presents. See 70+ Word Art Patterns – for some templates.
Materials and Tools Needed:
Wood or Plywood
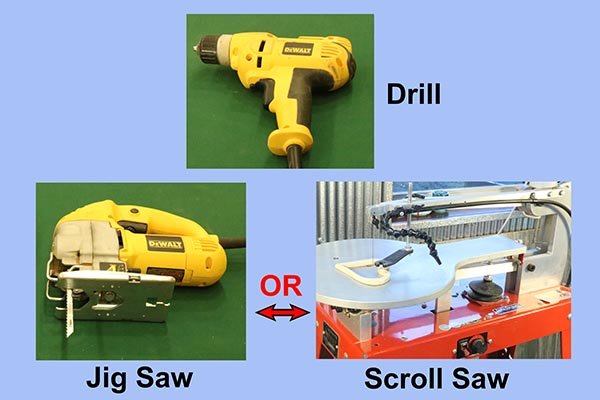
Drill, Jig Saw or Scroll Saw
Paint (Optional)
Tools needed to create word art sign.
Step 1. Place or transfer pattern onto wood or plywood.
This can be done numerous ways including the following. First option, cut out the pattern with a scissors and trace it onto your material. Second option, use carbon transfer paper. Third and easiest option, simply apply the pattern directly to the material using a spray adhesive.
Apply pattern with spray adhesive.
Step 2. Drill holes for internal cuts in word art pattern.
Drill holes for internal cuts.
Step 3. Remove internal material.
Using a scroll saw to remove internal material. Remove wood – Scroll saw.
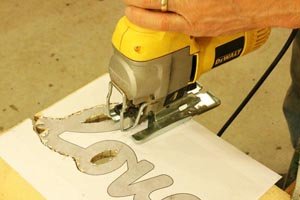
If using a jig saw, first securely clamp the work piece to a bench.
Remove wood: Jig saw.
Step 3. Finish cutting out pattern using jig saw, scroll saw, or band saw.
Cut out pattern – Jig saw.Cut out pattern – Band saw.
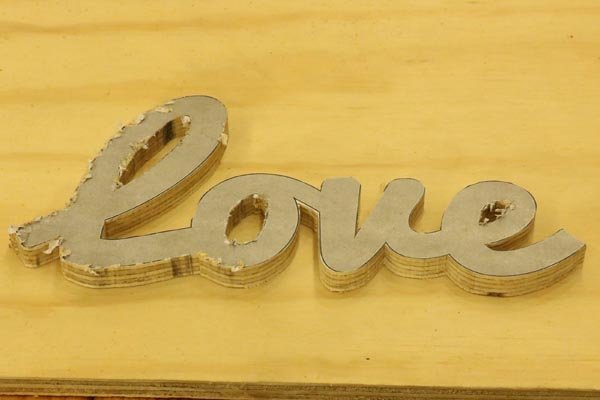
Your Word Art Sign is now ready for sanding.
Pattern after cutting out.
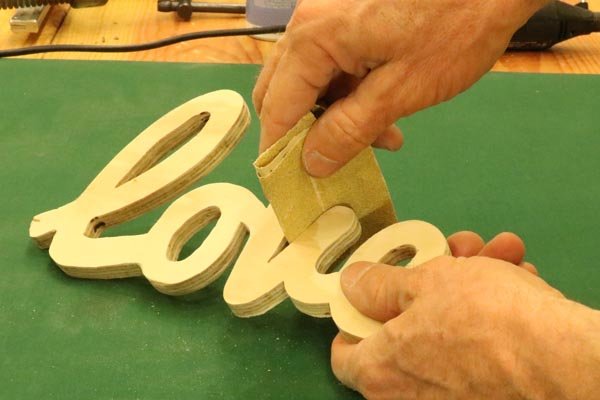
Step 4. Sand your word art sign.
Hand sand word art pattern.Dremel: power sanding pattern.Word art signs after sanding.