Wooden Step Stool (DIY Plans for Kids and Adults)
Building a wooden step stool can be a fun and practical project. Here is a simple guide with dimensions to help you get started. See wood projects for more woodworking ideas.
Materials needed:
• One piece of plywood 35″ x 14″ x 3/4″ (89cm x 36cm x 2cm).
• One piece of lumber: 1″ x 2″ x 25″ (2.5cm x 5cm x 64cm).
• Screws and wood glue.
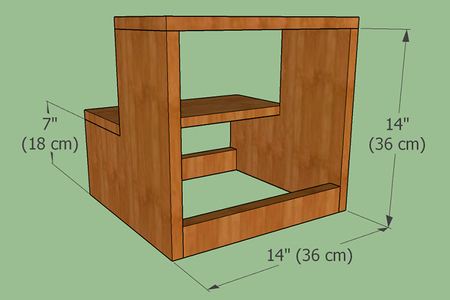
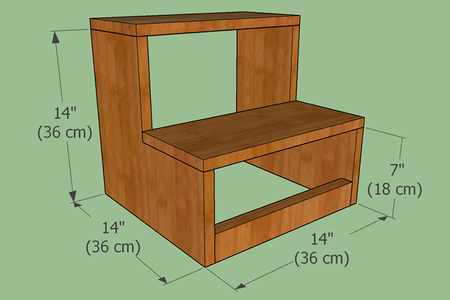
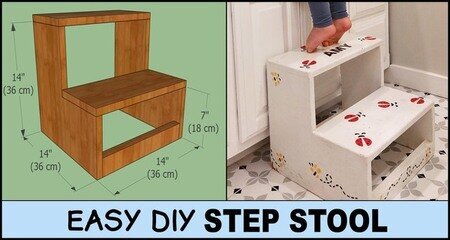
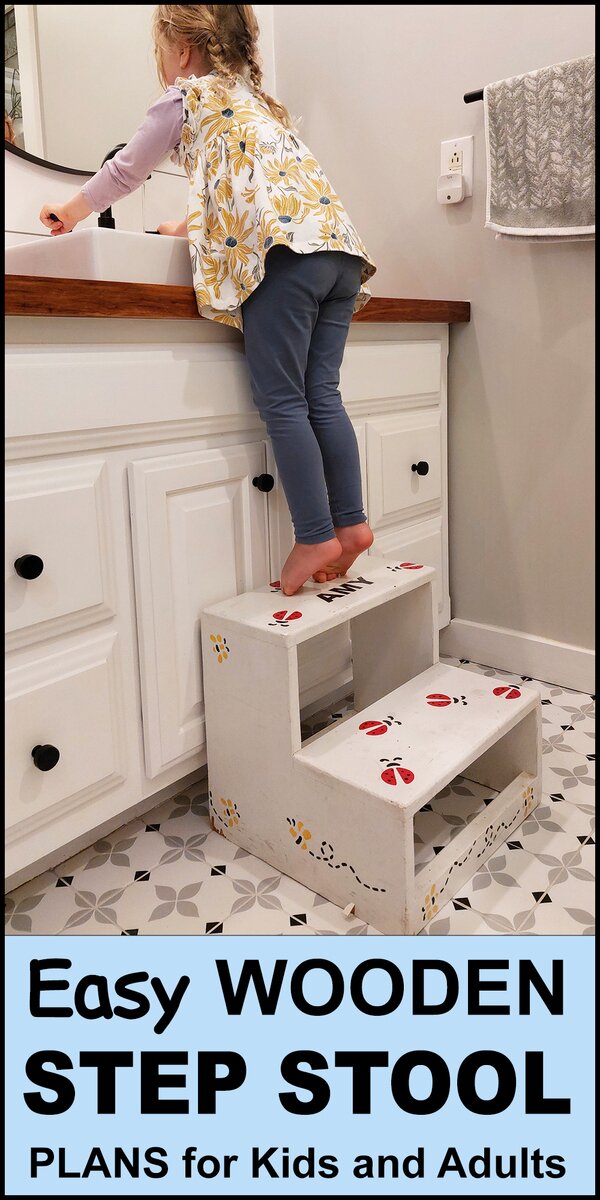
This simple wooden step stoop is easy and quick to build. It is great to use in the bathroom, kitchen, or wherever you need an extra step up. A step stool can reveal a completely new world to a toddler. They can now brush their teeth and reach the counter top with no problem. This step stool is light and easy to move. Below is a 3D model of this step stool.
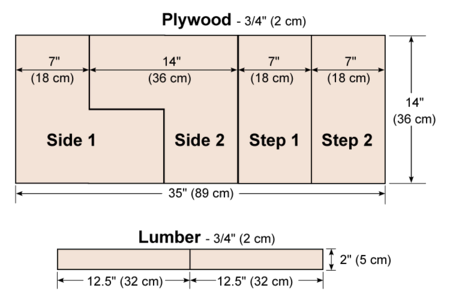
Step #1: Cut a piece of plywood and lumber as shown below.
Cut a piece of plywood and lumber as shown below. You can view larger images by clicking on the pictures below.
Step #2. Assemble Your Wooden Step Stool.
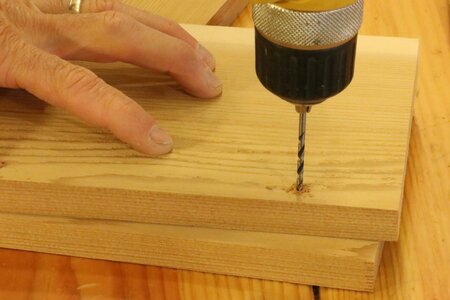
Use a combination of wood glue and screws to attach the pieces together. Drill pilot holes to help prevent the wood from splitting. Ideally, the pilot holes should be at least as large as the screw’s minor diameter.
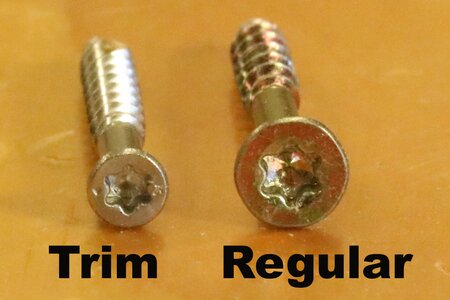
Personally, I recommend using stainless steel trim screws as shown below. The smaller screw head is less obvious and helps prevent the wood from splitting. If you pre-drill the holes, these screws will countersink themselves nicely because the head is not much larger than the pilot hole.
Step #3. Optionally paint or finish your wooden step stool.
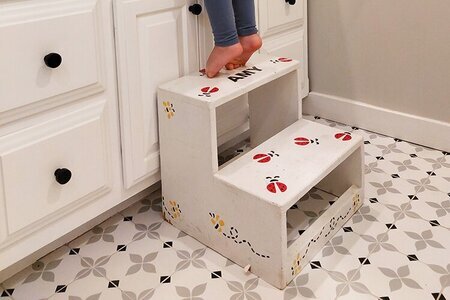
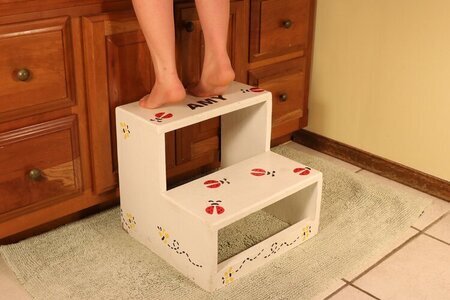
Once the structure is secure, sand the surfaces of the step stool to smooth out any rough edges. You can also apply paint, stain, or varnish to protect the wood and give it a finished look. Allow the finish to dry completely. You can also easily customize this step stool with your child’s name or you can go crazy with stencils and stickers.
That’s it! Your new step stool should provide you and the little ones an extra step for years to come. Always test the stability of the stool before standing on it, and make sure to use it on a flat, stable surface. Remember to exercise caution and work safely when using tools and equipment.
Looking for more WoodWorking Projects and Plans?
You will also find patterns of all 50 US States.
